
Visual puzzle directory
Which board are you on?
Compare the starting islands and objects, then open only as much help as you need.
37 guides shown
No matching board. Try its level or a simpler landmark, or choose All guides.
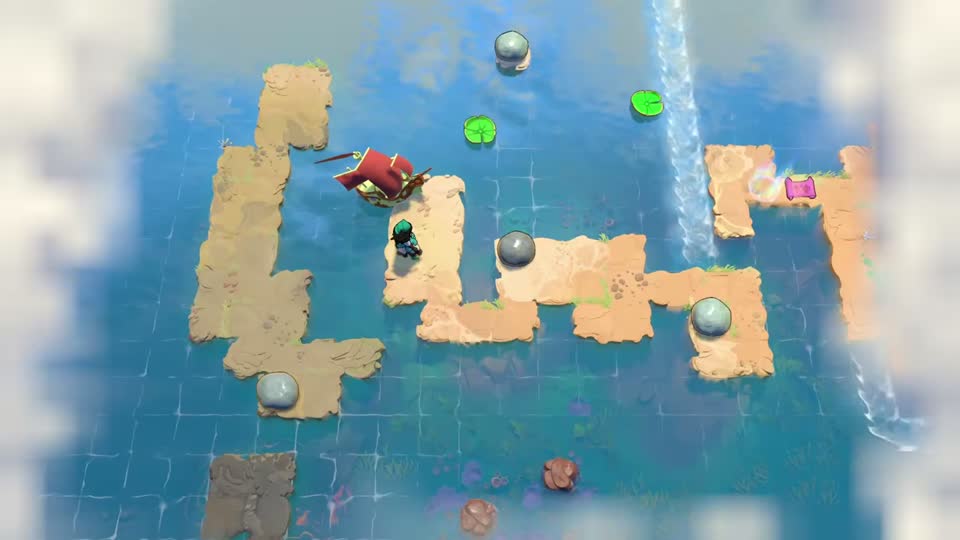 Level 1 · Board 1
The boat and the first crossing
Bring the two lily pads together in the right-hand current so they form your crossing.
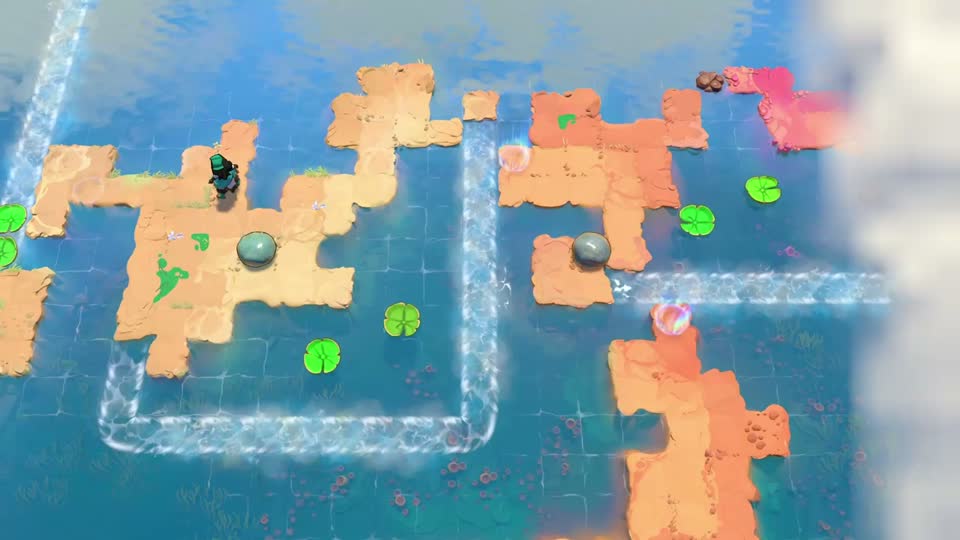 Level 1 · Board 2
Across the current loop
Make the first crossing, then arrange a second pair of pads to reach the lower-right checkpoint.
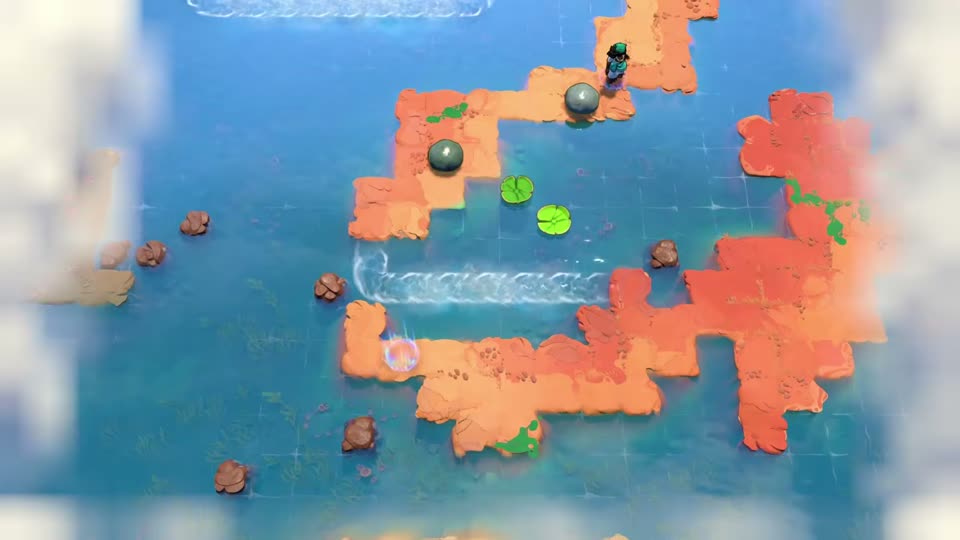 Level 1 · Board 3
Two pads and a stone to take along
Align the pads for the crossing, then carry a stone into the next board.
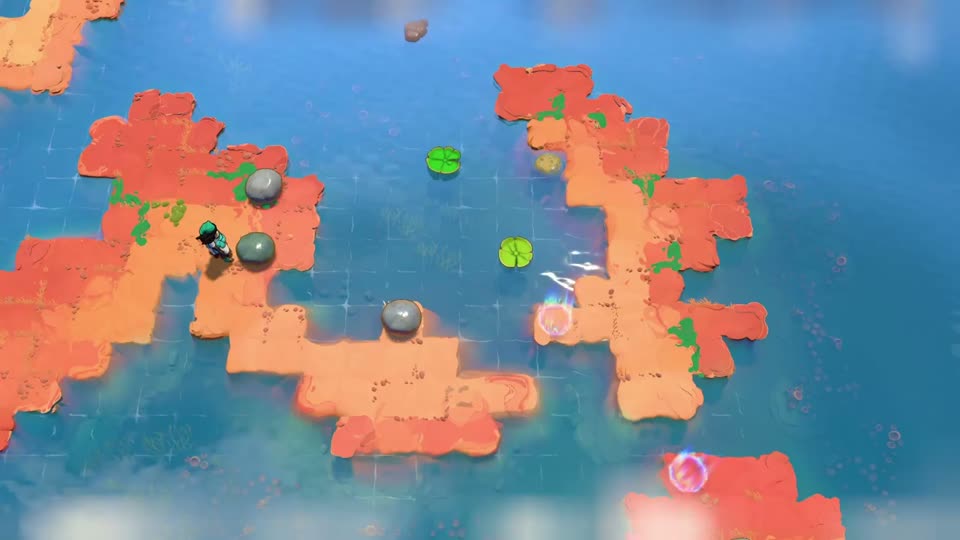 Level 1 · Board 4
Three stones, two checkpoints
Use the imported stone to complete the pad crossing, then bridge to the lower checkpoint.
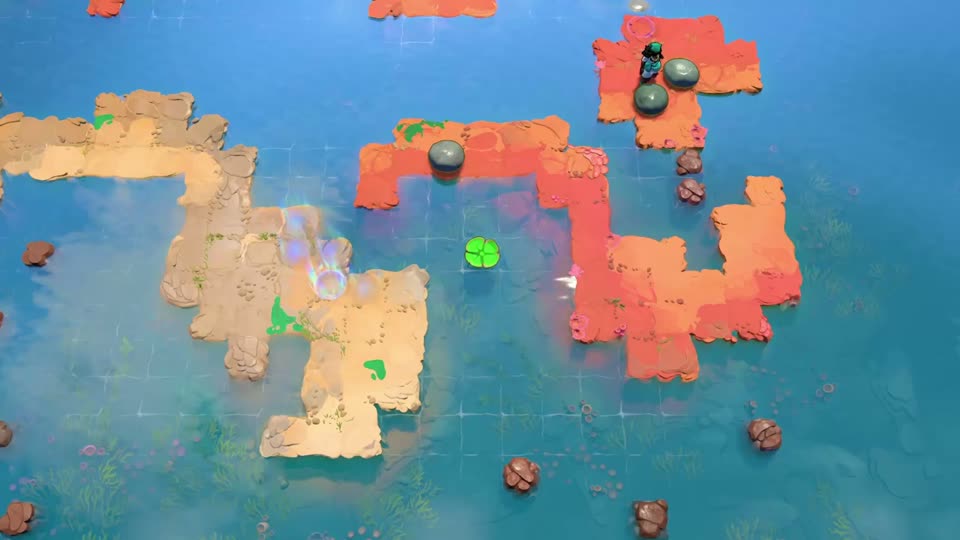 Level 1 · Board 5
Around the hooked island
Bridge off the entrance, move the single lily pad left, and take a stone west into board 6.
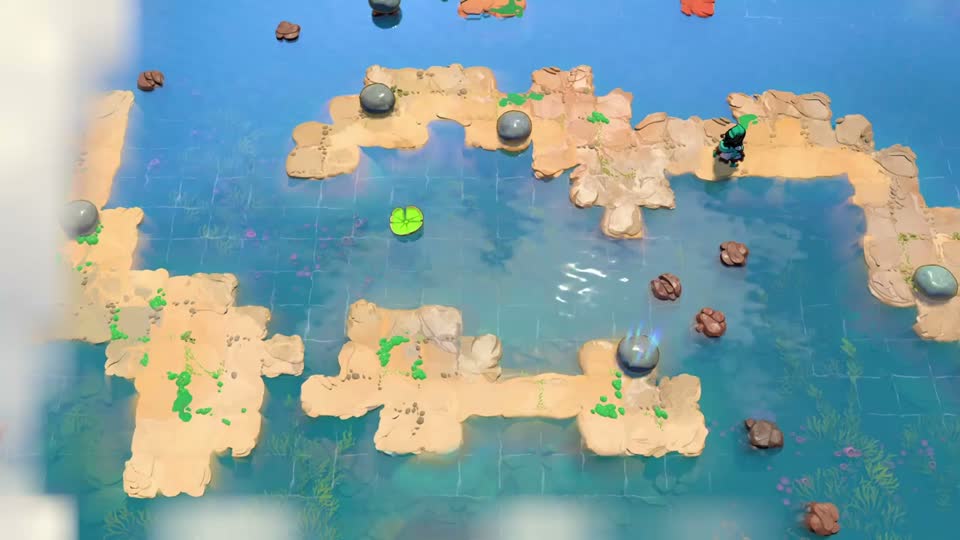 Level 1 · Board 6
The long bay and the third stone
Use a stone from board 5 to complete the central crossing, then open the route west.
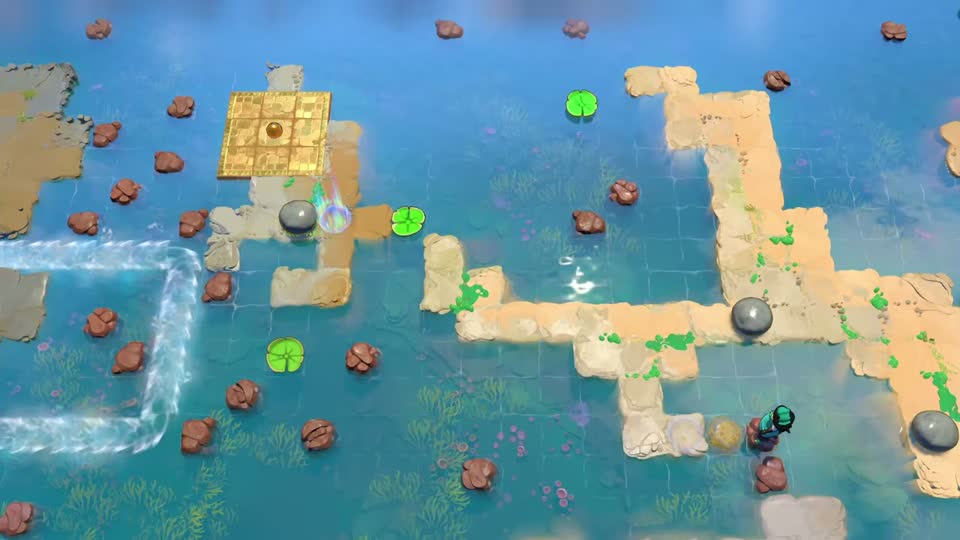 Level 1 · Board 7
The orb and the moving lily pad
Redirect a pad while it is moving, reach the orb-side checkpoint, and then join the western current.
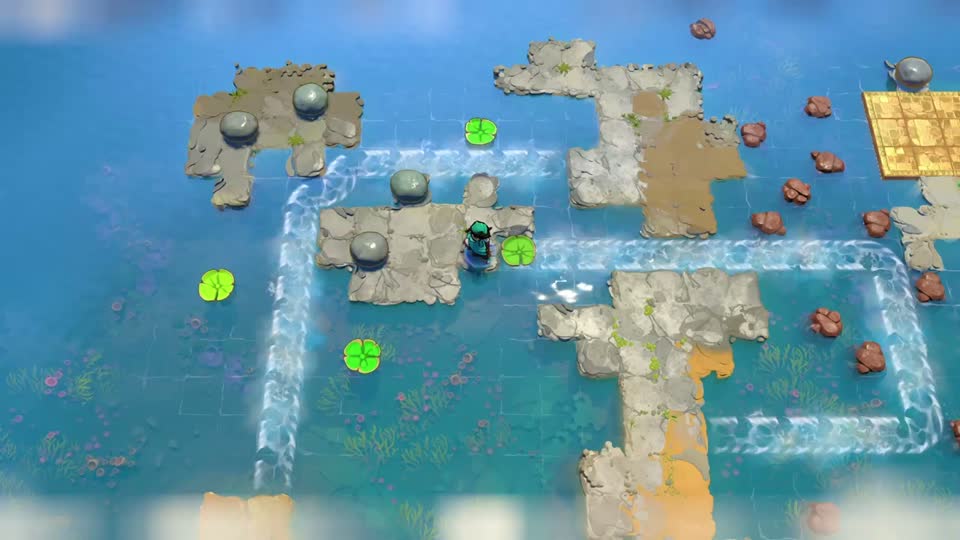 Level 1 · Board 8
Three pads around the current circuit
Load three pads into the circuit, ride back to the central island, and open the lower-right exit.
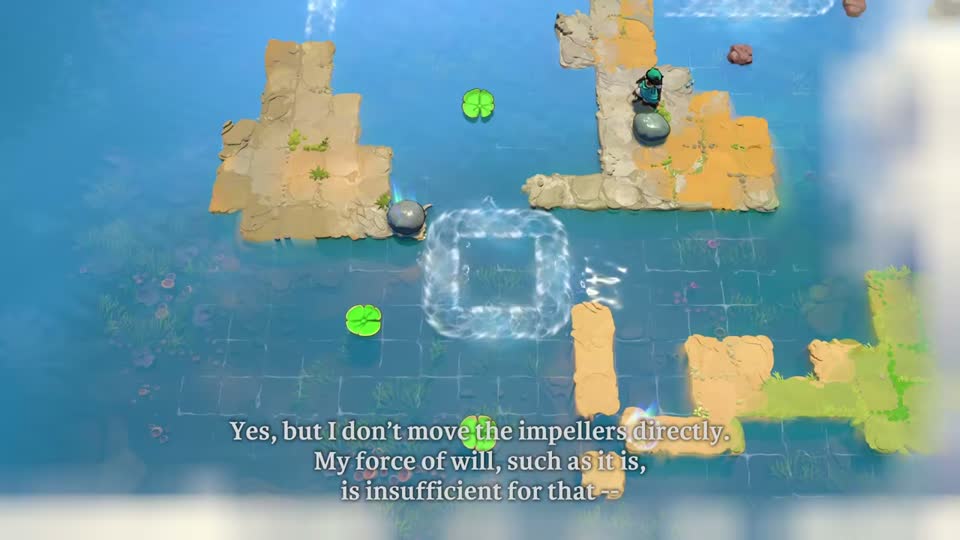 Level 1 · Board 9
A stone on the front pad
Ride the rear pad and push from it to redirect the front pad towards the exit.
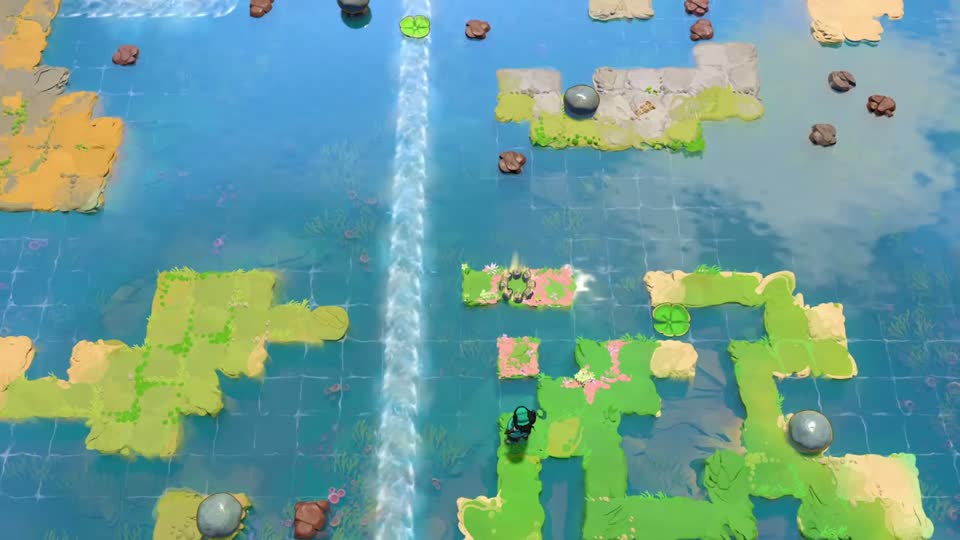 Level 1 · Board 10
The return route to the boat
Use this board as an outward junction first, then return after board 13 to ride back to the boat.
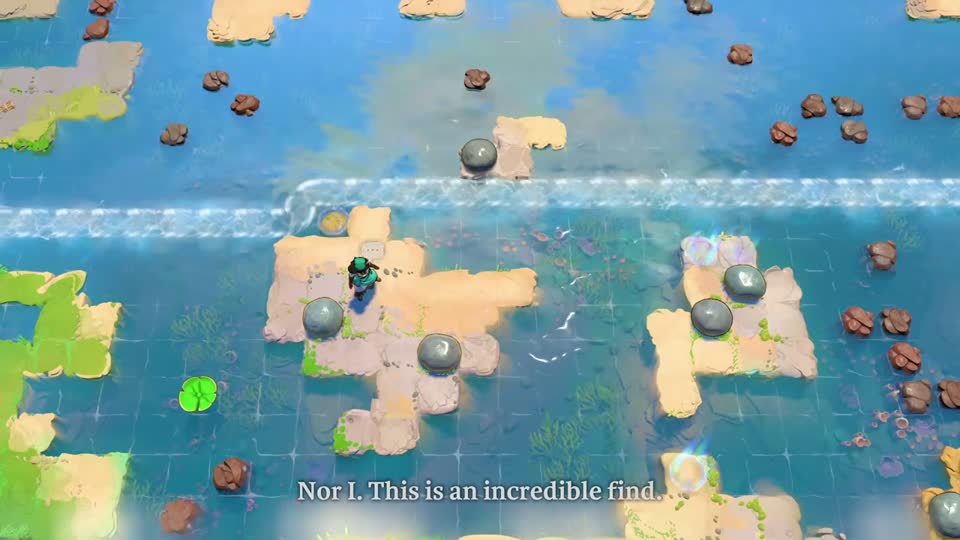 Level 1 · Board 11
Redirect the horizontal current
Divert the current so a lily pad carries you to the eastern checkpoint, then bridge south.
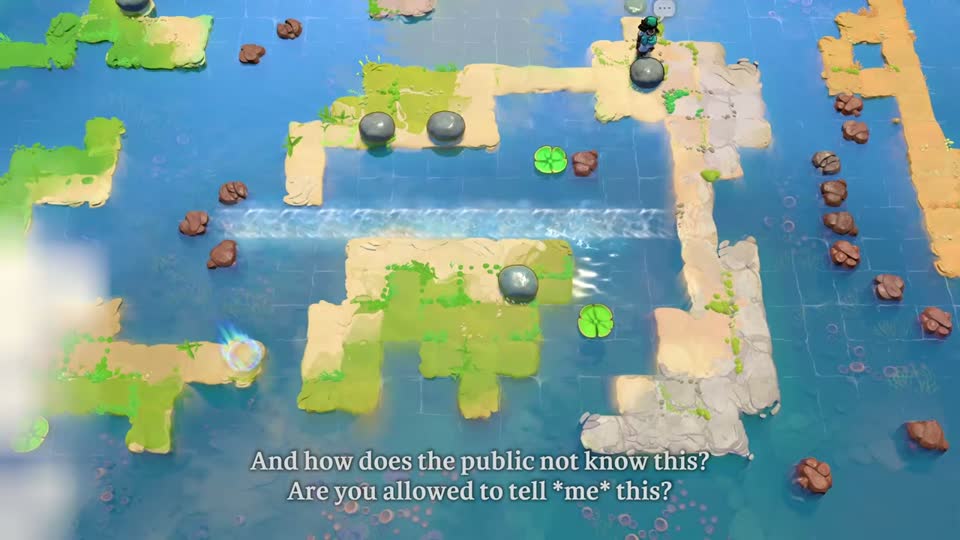 Level 1 · Board 12
The central island and the exit bridge
Reach the central island on paired pads, then create the western stone bridge.
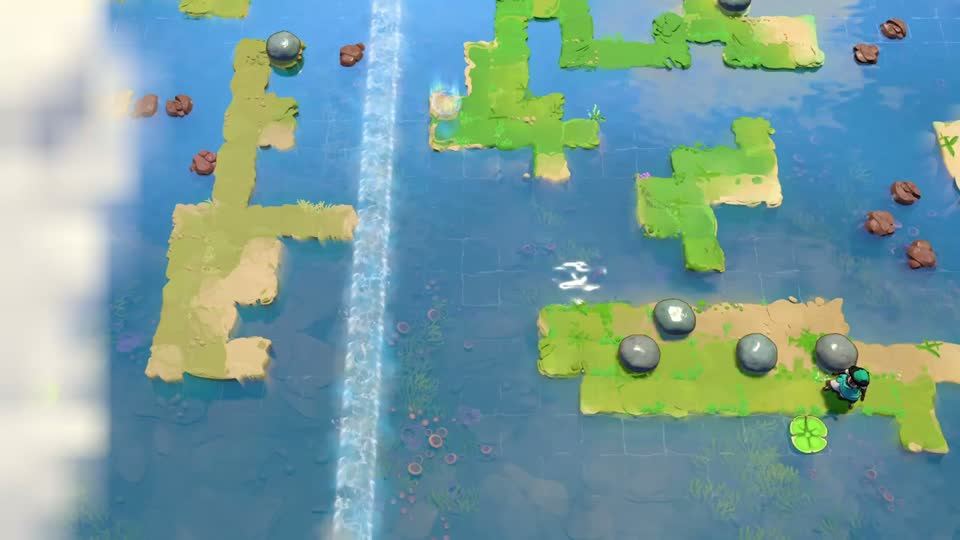 Level 1 · Board 13
Into the west current
Use the upper island to reposition a stone, divert the western flow, and ride the lower pad back north.
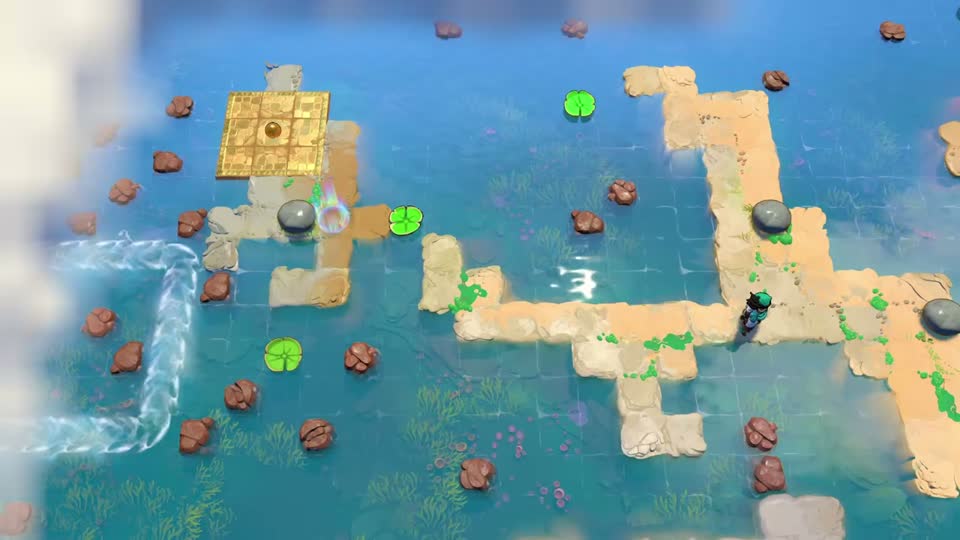 Level 1 · Treasure 1
The treasure beyond board 7
Open the short southern treasure detour without losing the stone needed for board 7.
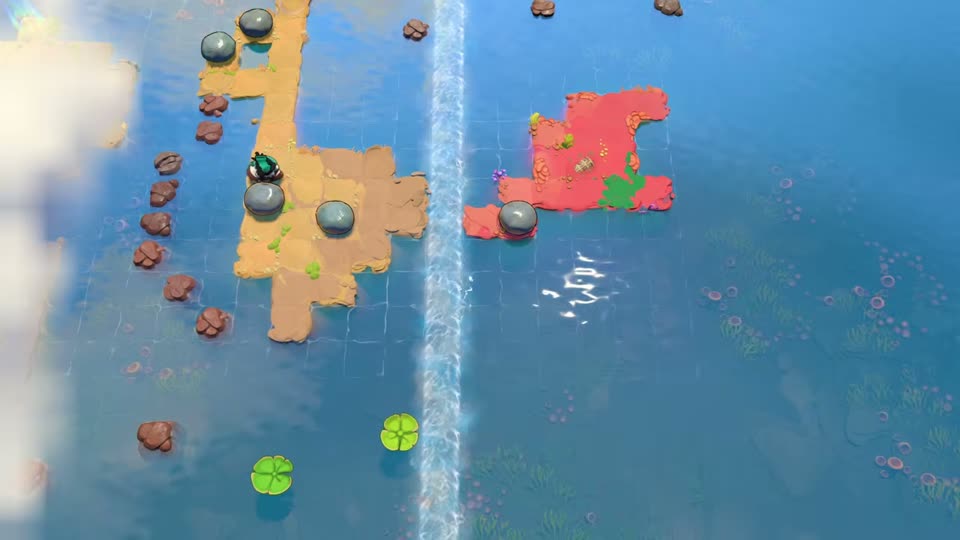 Level 1 · Treasure 2
The second treasure and the return pad
Ride one pad to the treasure and use the second to return, then restore the main route.
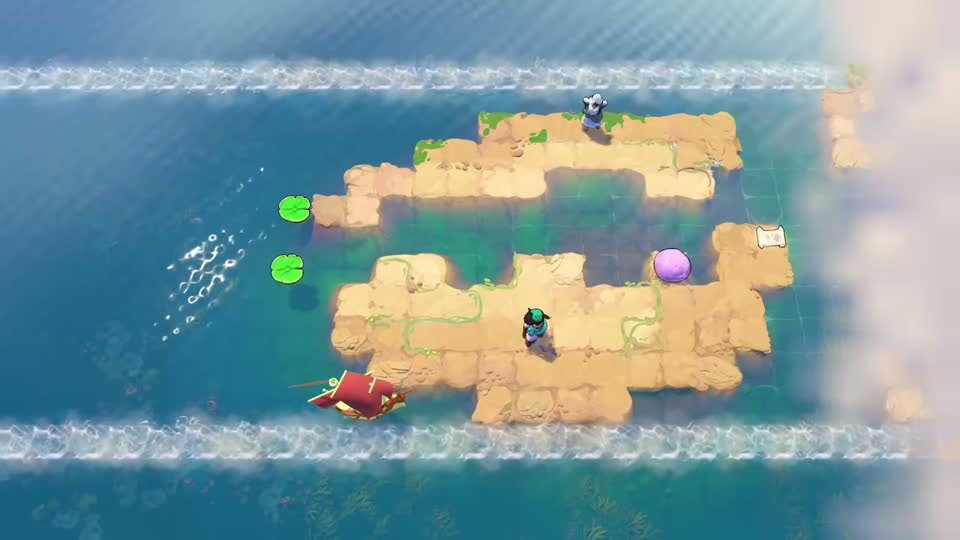 Level 2 · Board 1
The first two-sailor exchange
Trade one stone between the two banks, then send each sailor away on a different pad.
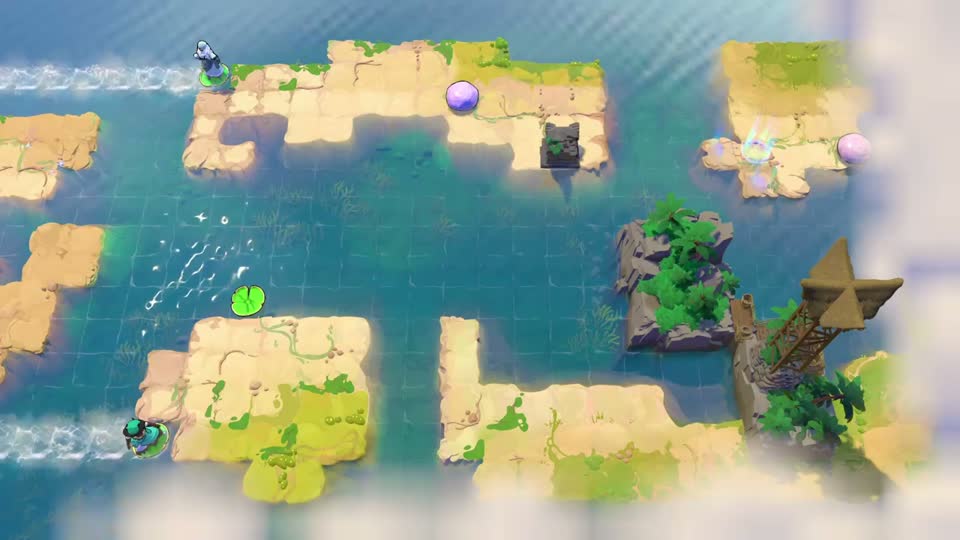 Level 2 · Board 2
Catch it, then step aside
Use the same stone to carry one sailor across and then send the other onward.
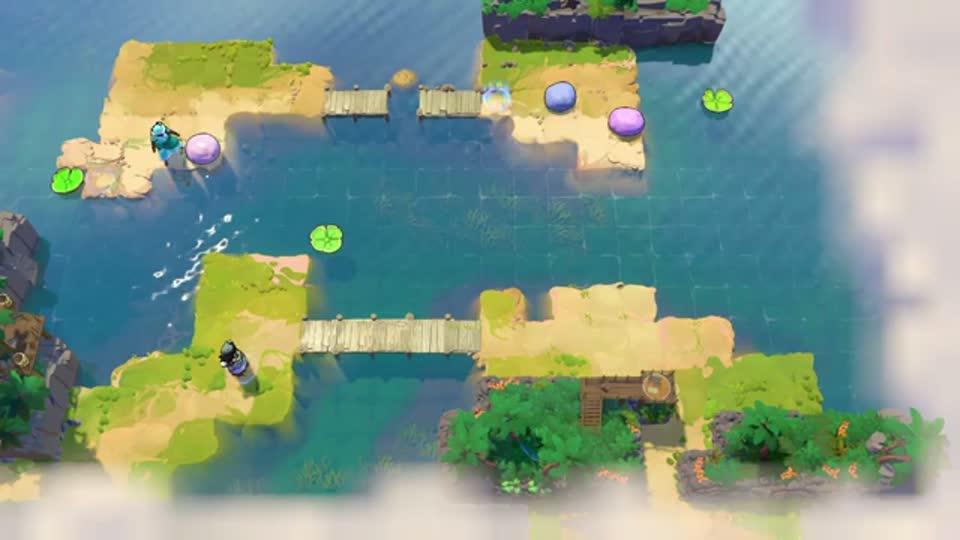 Level 2 · Board 3
A moving pad in the bridge gap
Stop the pad at the upper bridge gap, then use a second stone to arrange the exit.
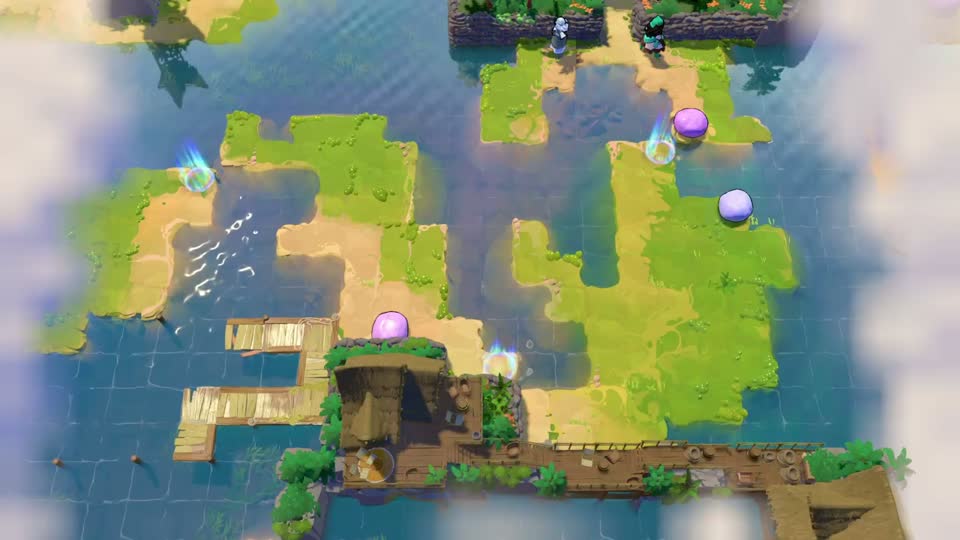 Level 2 · Board 4
Catches become stepping stones
Use controlled catches to create access to the lower dock and the checkpoint beyond the left pool.
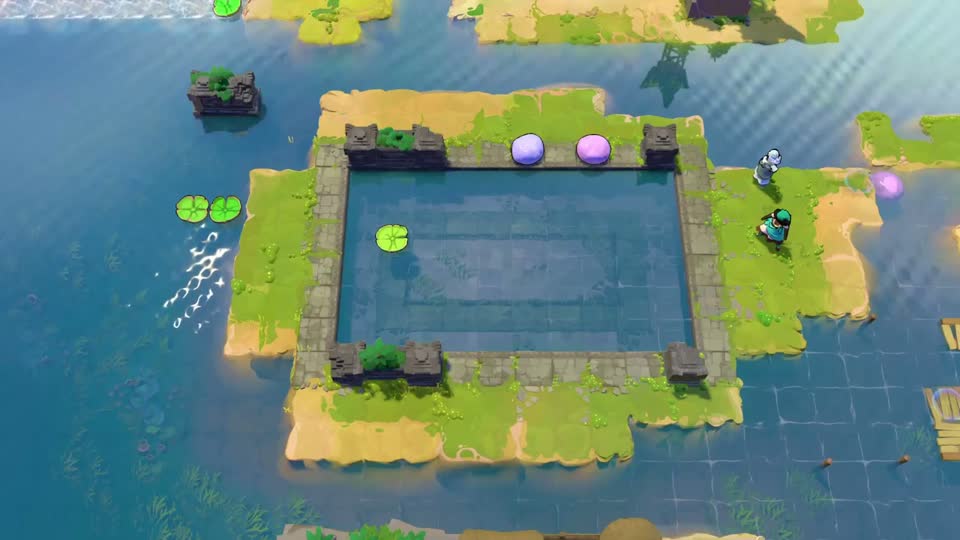 Level 2 · Board 5
The square pool and its return lane
Make a foothold inside the pool, then use it to line up the two-pad departure.
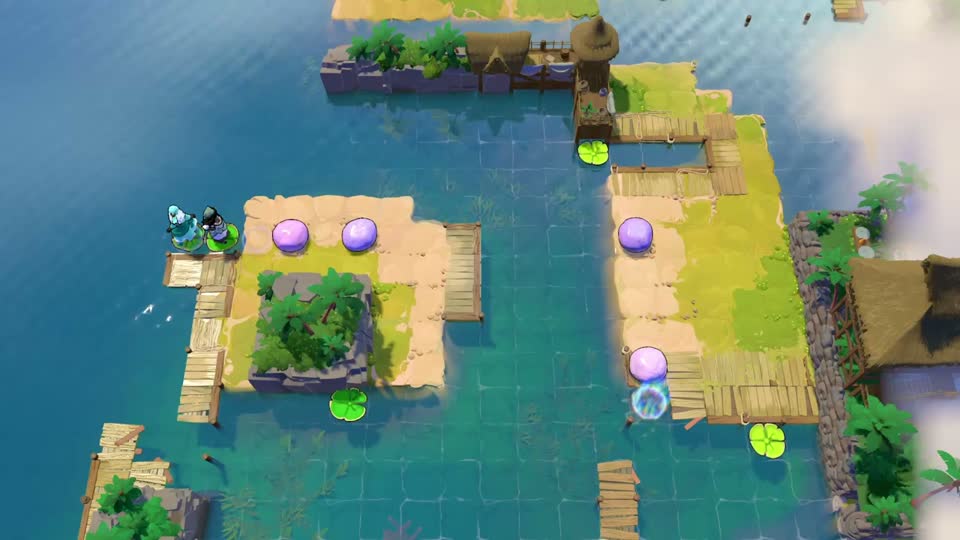 Level 2 · Board 6
Reverse the pad at the right moment
Reverse a travelling pad twice: first to reach the checkpoint, then to transport a stone.
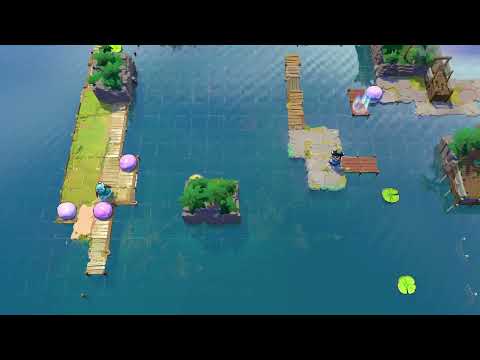 Level 2 · Board 7
Use the foliage stone as your timing cue
Time a second throw against a visible landmark, then send the lower pad back towards its passenger.
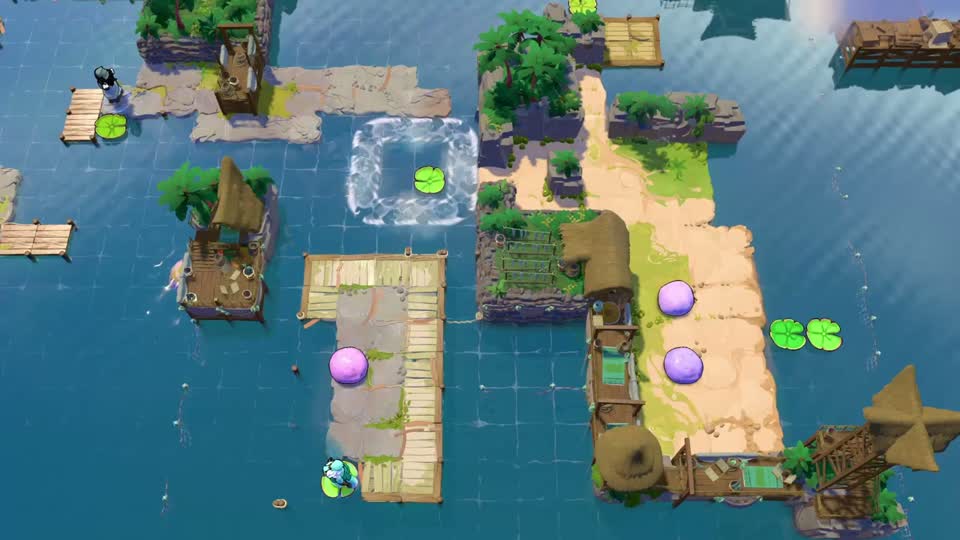 Level 2 · Board 8
Share the square current, then split up
Use one circling pad to reunite the sailors before arranging the right-hand crossing.
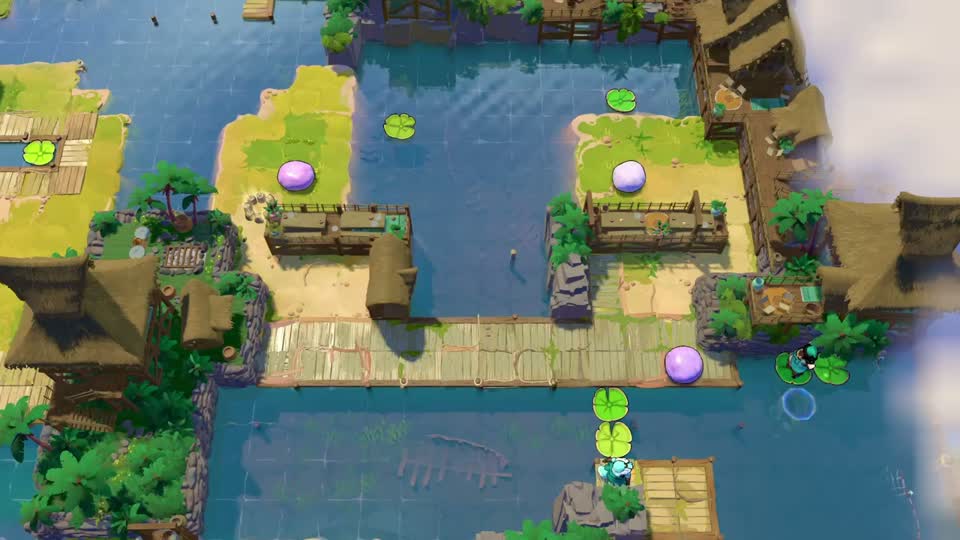 Level 2 · Board 9
Deliver a stone to the lower dock
Carry a stone to the lower dock so the sailors can leave on the two pads.
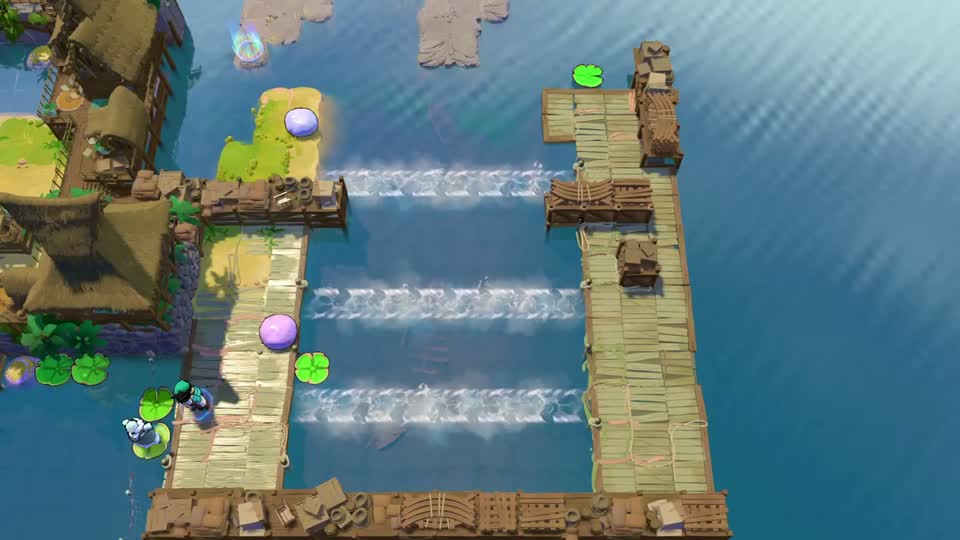 Level 2 · Board 10
Climb the three horizontal currents
Use exchanges across the water to lift the passenger into the upper current.
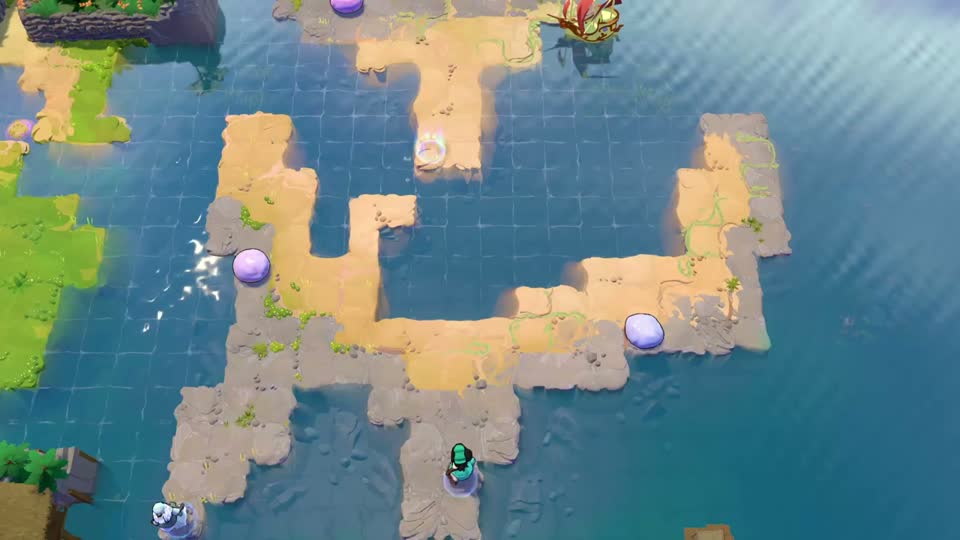 Level 2 · Board 11
Two stones meet beneath the checkpoint
Collide the stones in the checkpoint column to create the missing crossing.
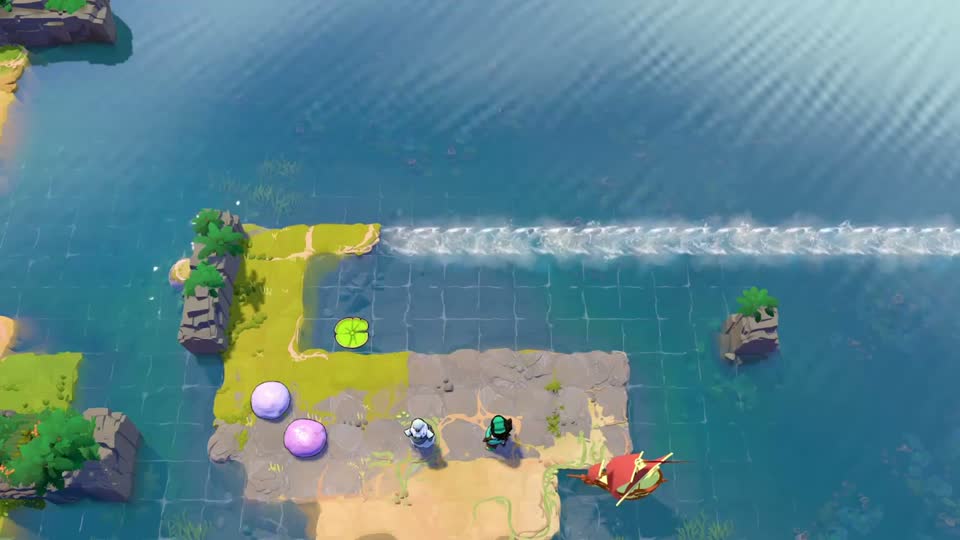 Level 2 · Board 12
Send the original sailor back to the boat
Return the sailor who entered Level 1 to the boat; the passenger’s identity matters here.
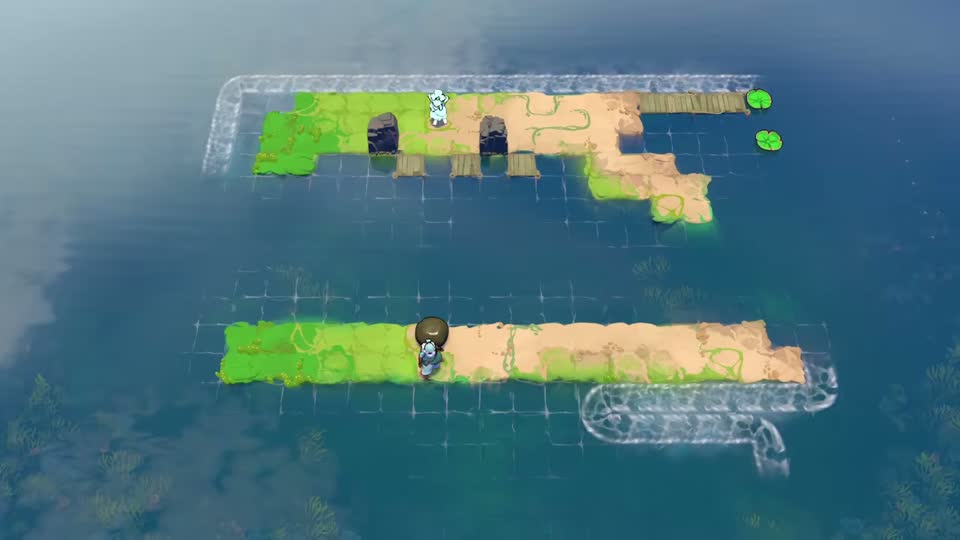 Left branch · Board 1
Two banks, two departure currents
Pass the stone to the upper bank and use a single throw to release both pads.
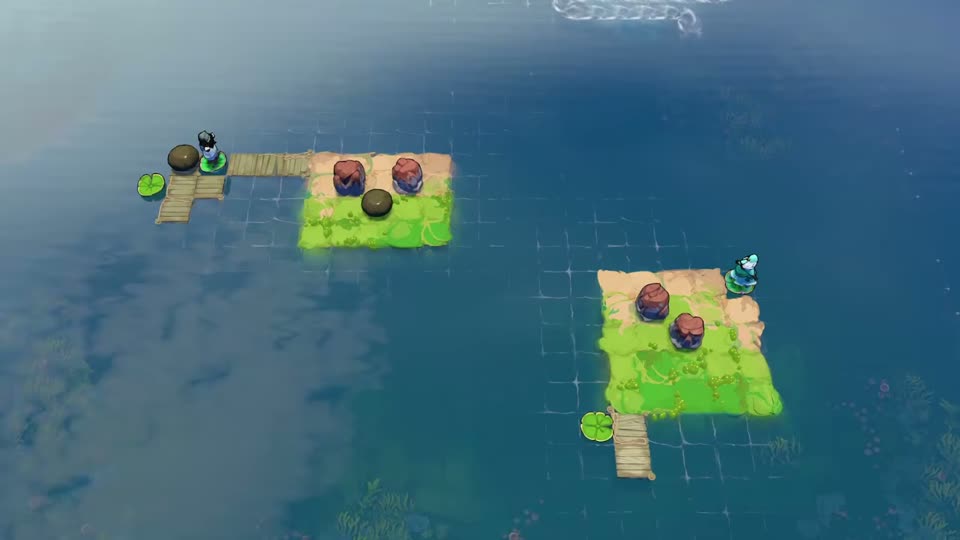 Left branch · Board 2
Rock footholds on opposite islands
Sink the red rocks into useful adjacent footholds before moving the round stones.
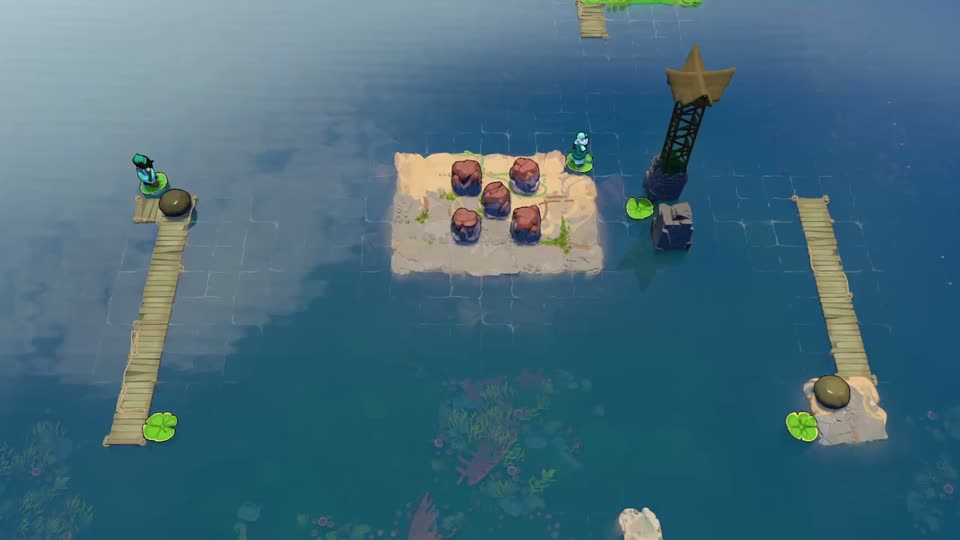 Left branch · Board 3
Five rocks beside the star pillar
Build separate left and right footholds so B can move the received stone around the island.
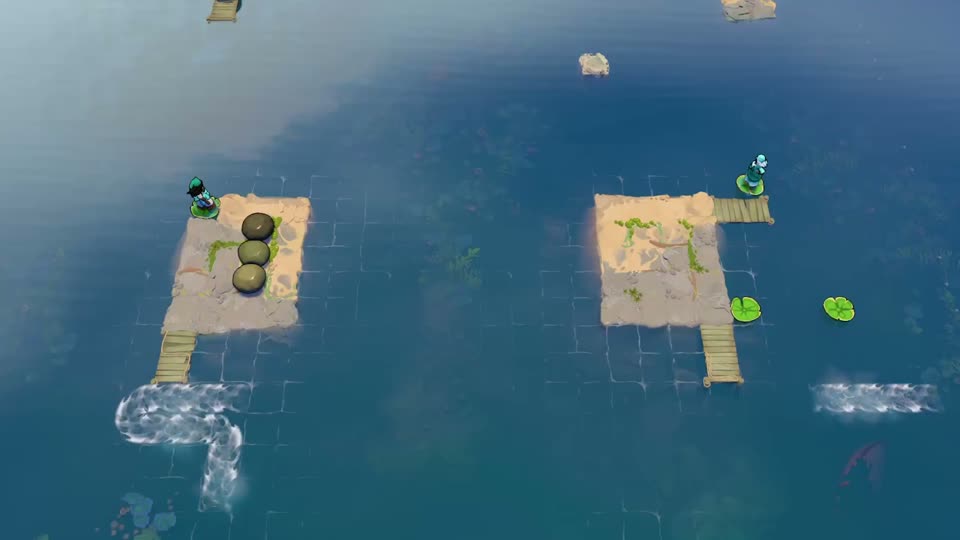 Left branch · Board 4
Three stones, two catches, one launch
Turn the first two throws into footholds and keep the third stone available for the launch.
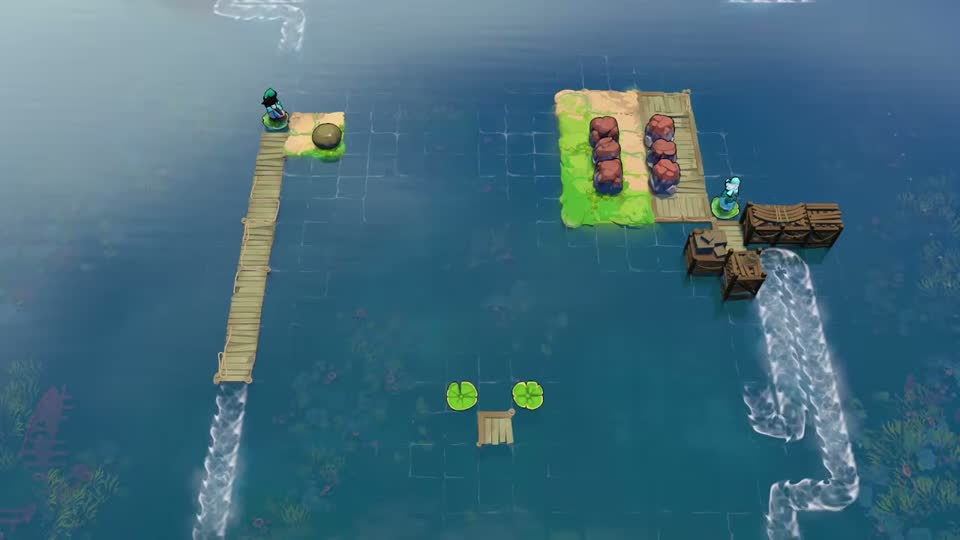 Left branch · Board 5
Six red rocks in two rows
Create a two-row platform in the water so B can redirect A’s stone downward.
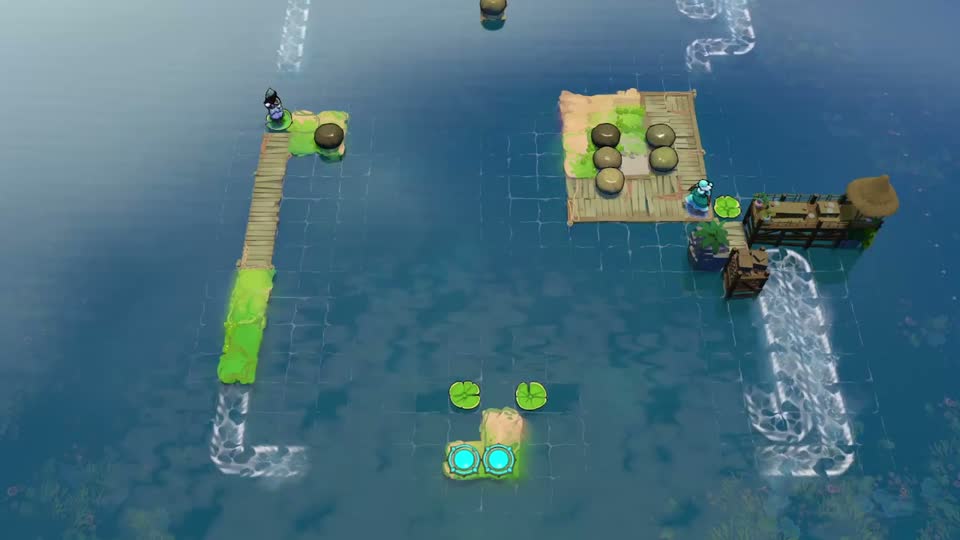 Left branch · Board 6
The collision that opens both teleporters
Build receiving positions, then create the last turning stone with a timed collision.
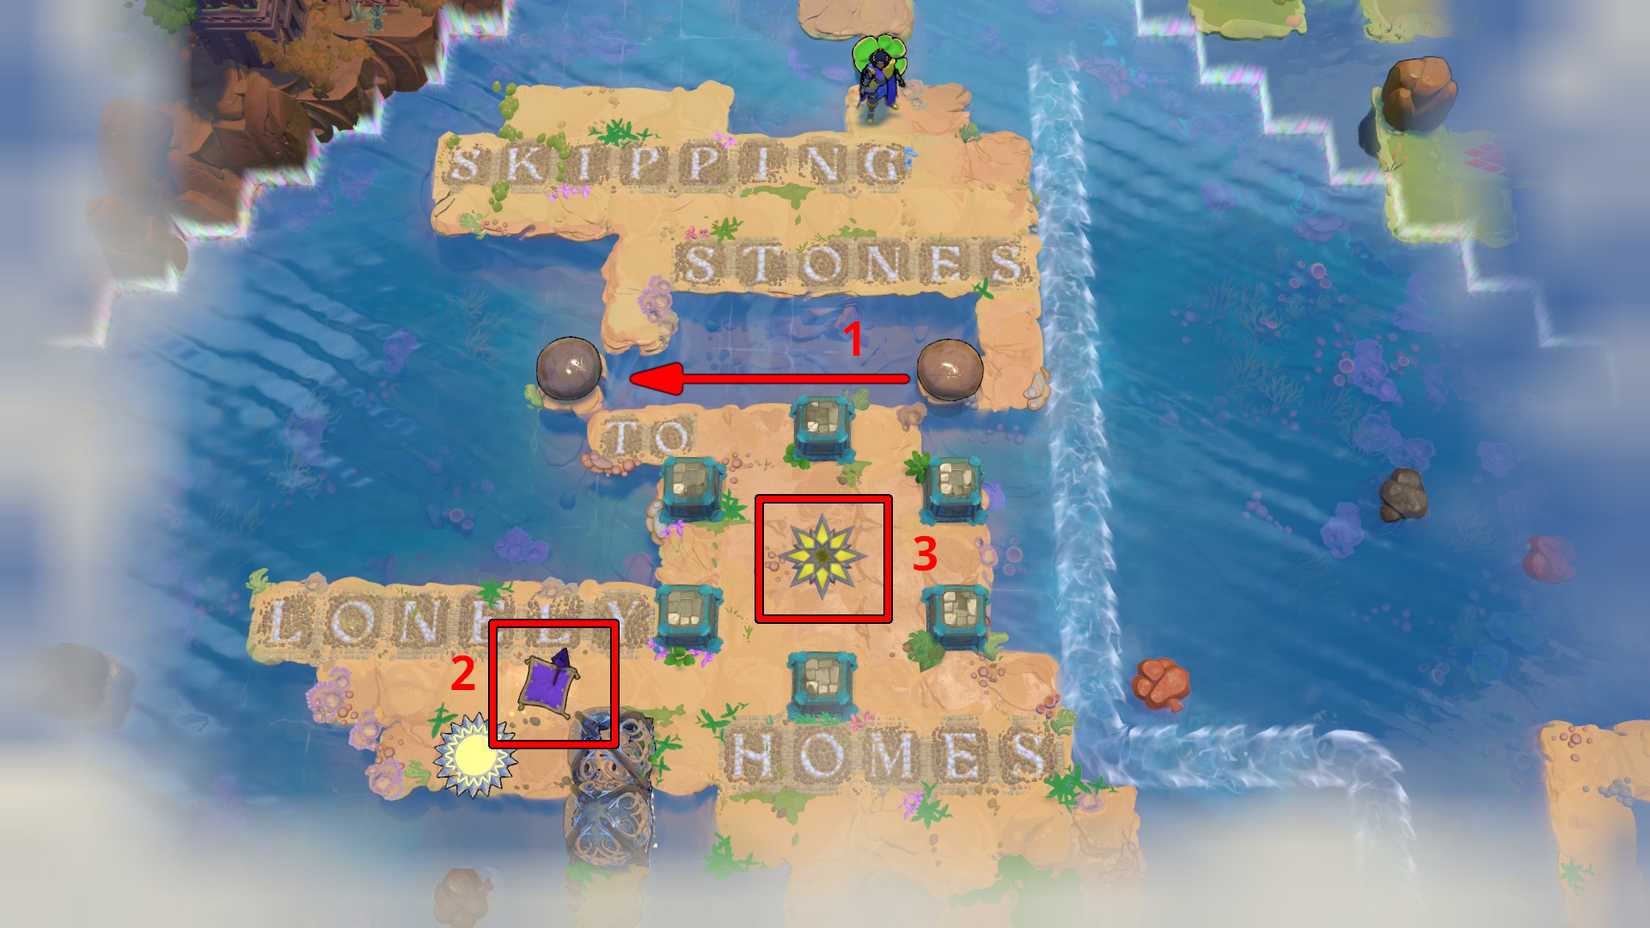 Outdoor routes · Entrance
Enter Skipping Stones Level 1
Open the first outdoor crossing and enter the first puzzle sequence.
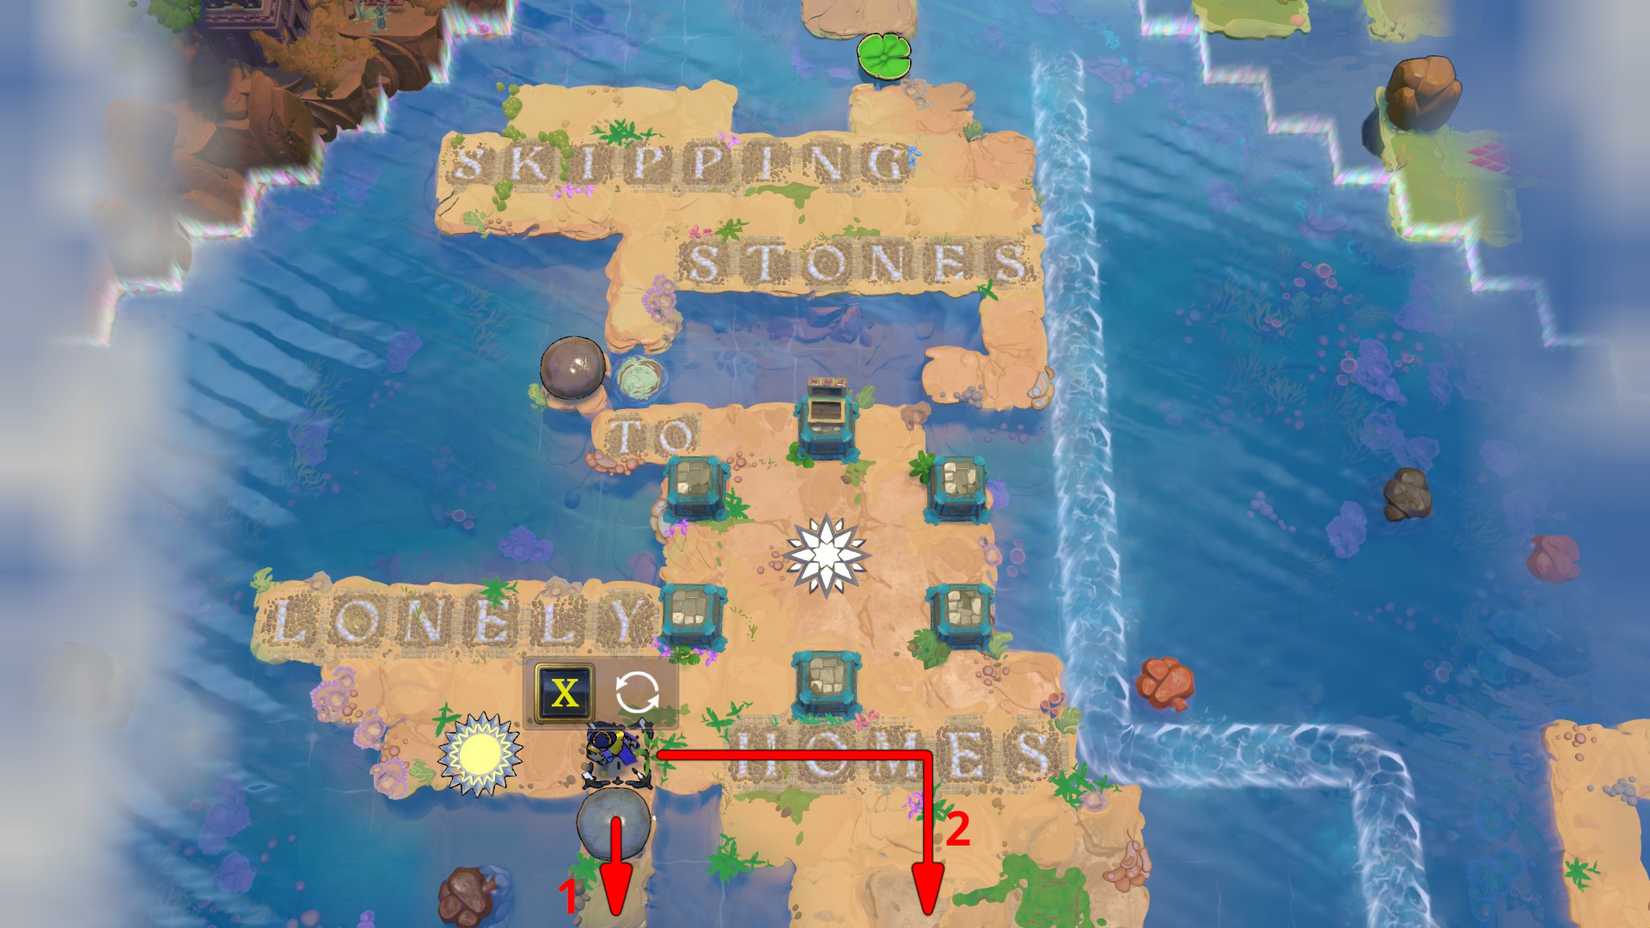 Outdoor routes · After Level 1
Carry the stone out of the Level 1 entrance
Use the stone unlocked by Level 1 to reach the next outdoor island.
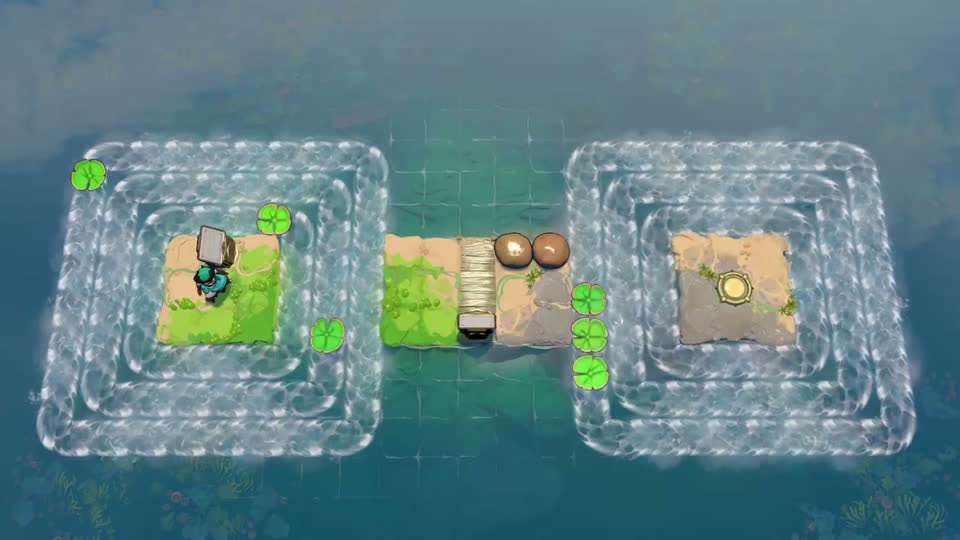 Outdoor routes · Side teleporter
Reach the side teleporter across three pads
Move the right-hand pads into a crossable arrangement without losing the outer bridge pad.
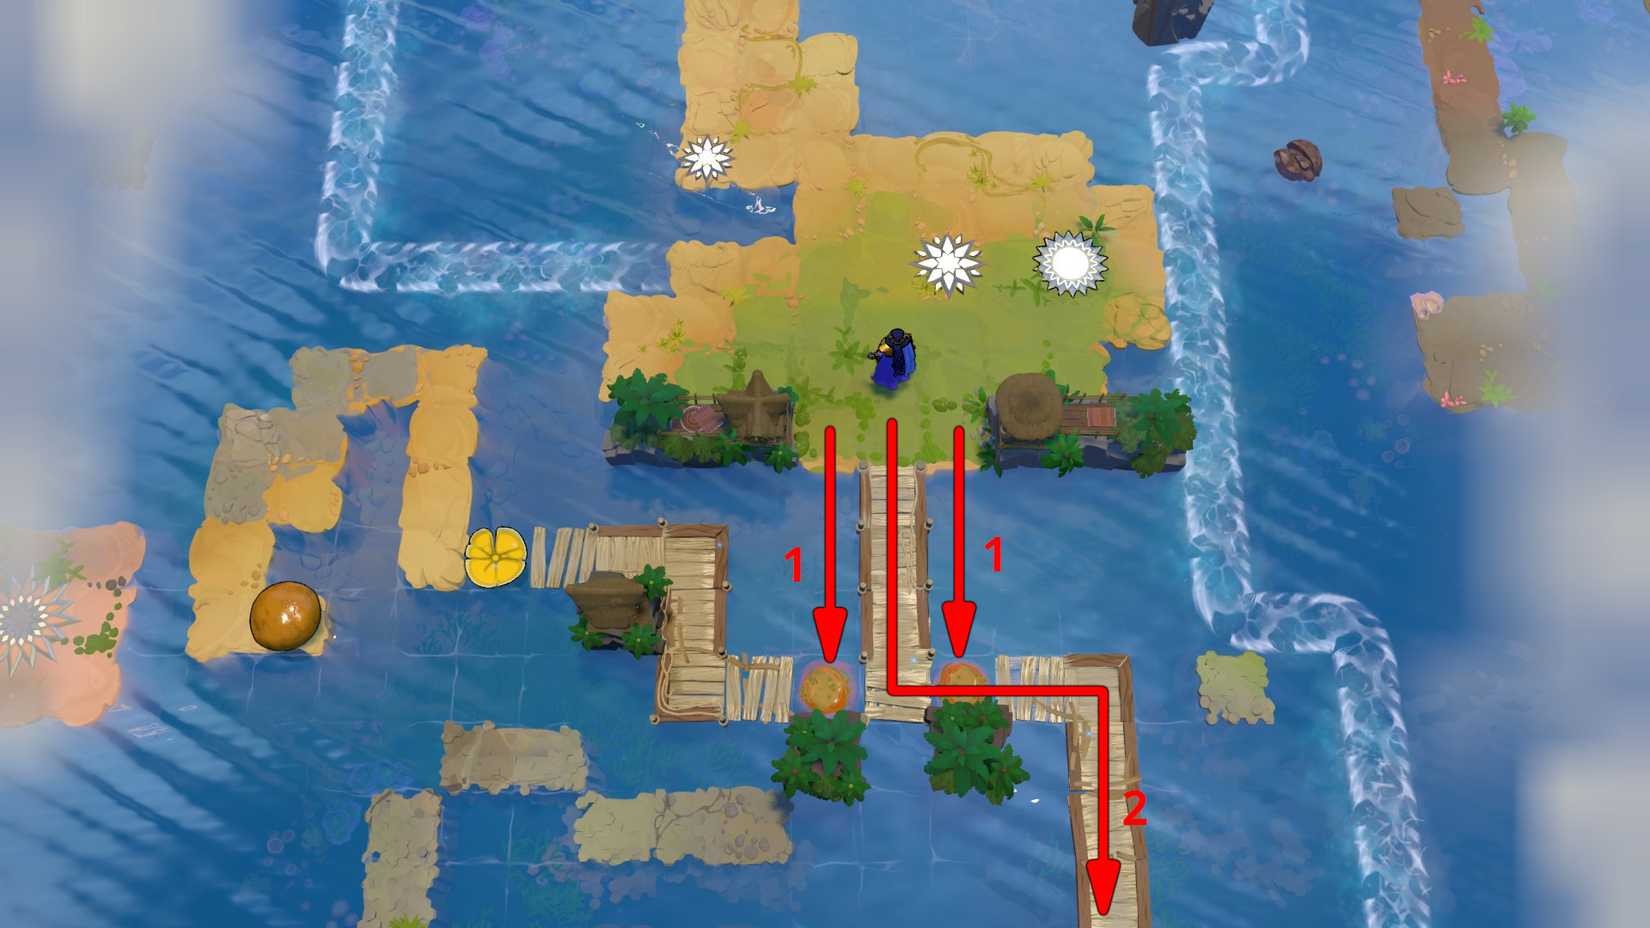 Outdoor routes · After Level 2
Open the lower dock and find the left branch
Bridge both gaps and follow the lower route to the left-hand puzzle branch.