
Skipping Stones · Level 1 · Treasure 1
The treasure beyond board 7
Open the short southern treasure detour without losing the stone needed for board 7.
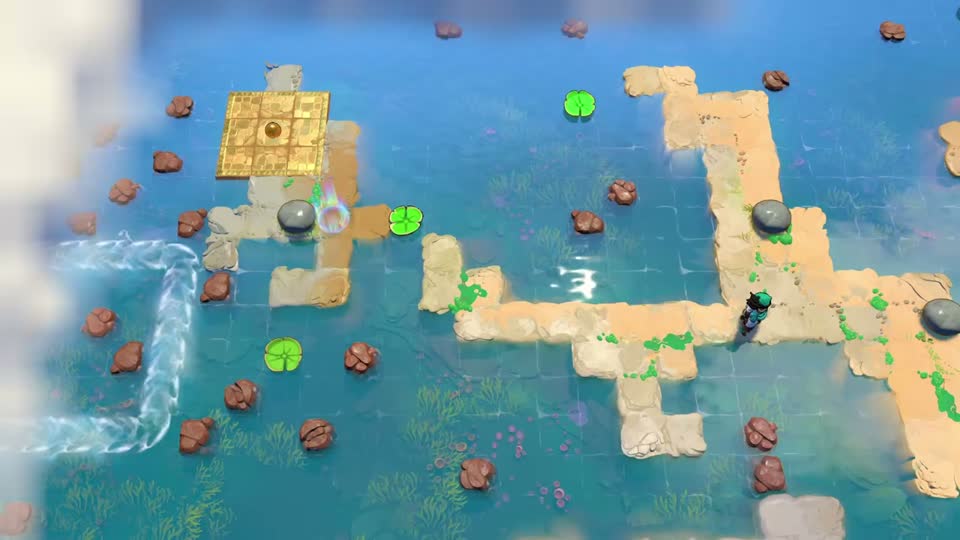
Is this your board?
Start on board 7 beside the gold square, with the stone brought from board 6 available on the right-hand approach.
If your layout differs, compare the other boards before following this route.
Choose how much help you want
Stop after any hint. The complete route and later-state picture remain hidden below.
Hint 1What to notice
The nearby brown rocks can support a temporary crossing. This detour uses a stone that came from the previous board.
Hint 2What to set up
Align the imported stone with the upper brown rock near the lower-right corner. The other stone completes the route down.
Hint 3The decisive move
Once across, the treasure is two tiles right of the stone. Return the route stone before attempting board 7’s timed pad solution.
Open the full routeSolution spoilers and the target state
Prepare the southward detour
Bring the board-6 stone into the row of the upper brown rock at the lower right of board 7. Push it left onto that rock.
Make the crossing
Move board 7’s stone down three, right twice, down, left, then down. Push it right to complete the bridge and walk south onto the treasure-side land.
Collect and return
Move two tiles right of the stone to reveal the buried treasure. Bring the stone back up to its original path position before continuing board 7; it is part of the next pad setup.
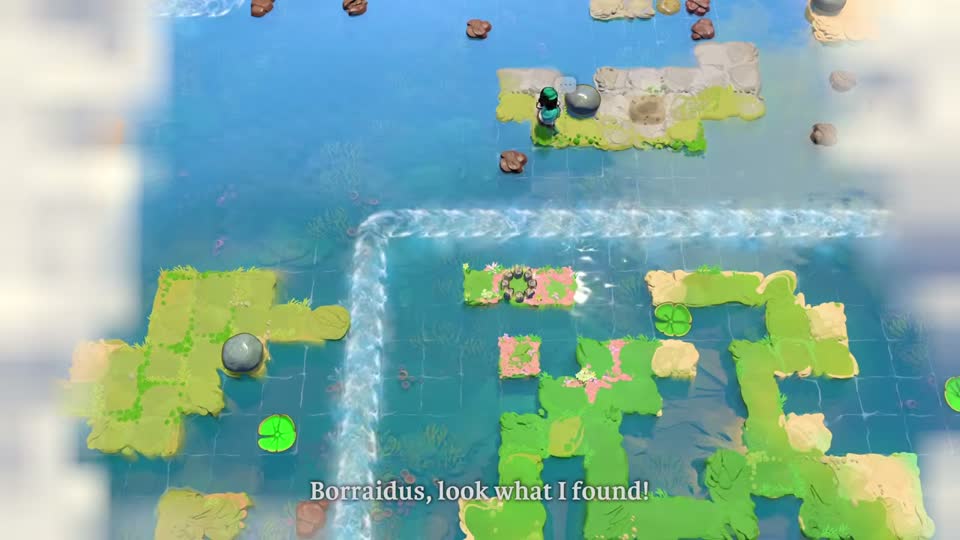
Check your result
You have collected the treasure and restored the stone needed for the board-7 route.
If your attempt went wrong
A treasure visit can leave the board-7 stones in the wrong places. Restore the returned stone before retrying the orb puzzle instead of treating the new layout as its starting state.
Watch the original move-by-move demonstration ↗
Opens YouTube in a new tab. No video or third-party player loads on this page.
Use directions relative to the board image. Where timing matters, use your game's current slow-time binding. Launch-layout route; the October 9 update changes some South-world checkpoints.
Further reading: Game Rant's Level 1 walkthrough. Hint wording and route explanations by Sinking Star Hub. See how to report a mismatch.