
Level 2 · Board guide
Skipping Stones · Level 2
Two sailors turn throwing, catching and timing into a shared route.
Choose the matching picture. Board labels follow this guide's sequence and are not official level names. Each page separates gentle hints from the complete route.
For the final boat return, the original sailor must be the passenger. Keep track of which character arrived from Level 1; the roles are not interchangeable at that exit.
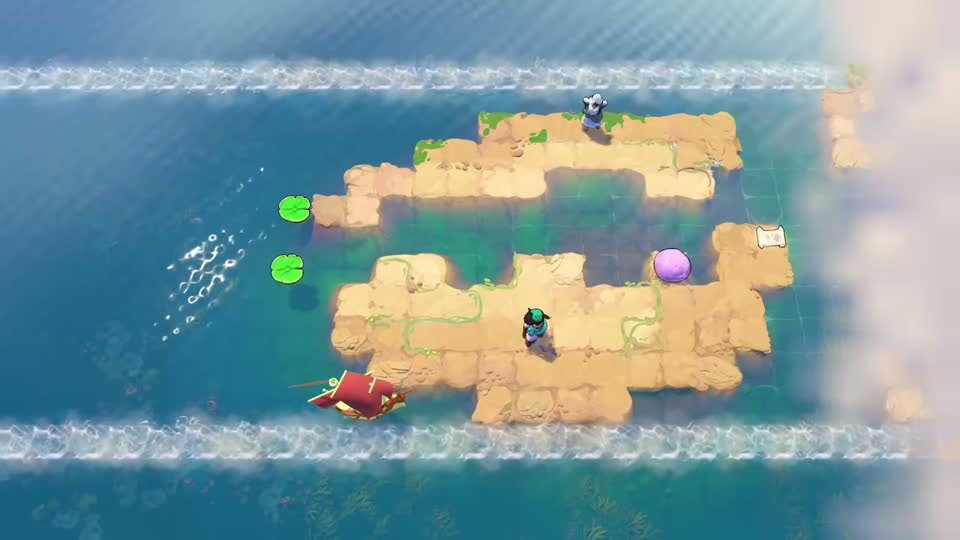 Level 2 · Board 1
The first two-sailor exchange
Trade one stone between the two banks, then send each sailor away on a different pad.
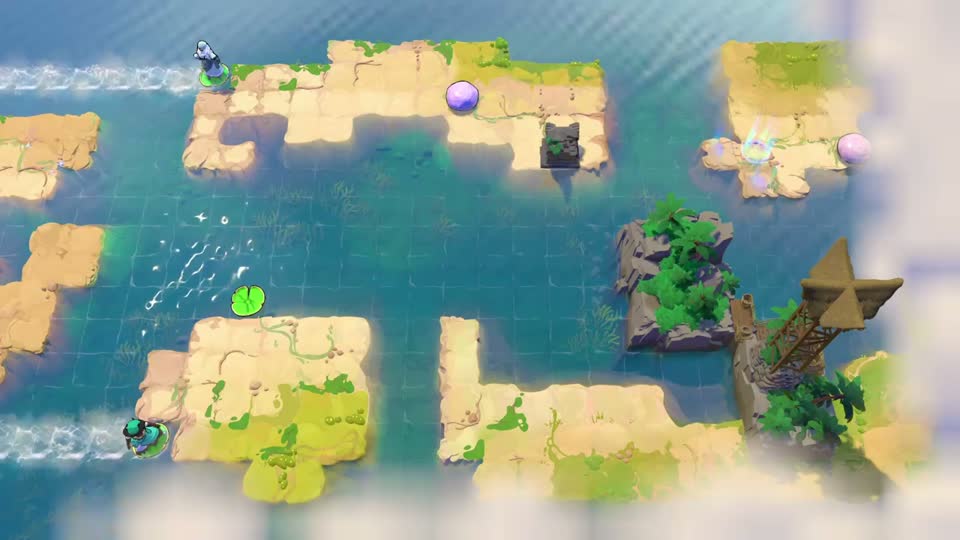 Level 2 · Board 2
Catch it, then step aside
Use the same stone to carry one sailor across and then send the other onward.
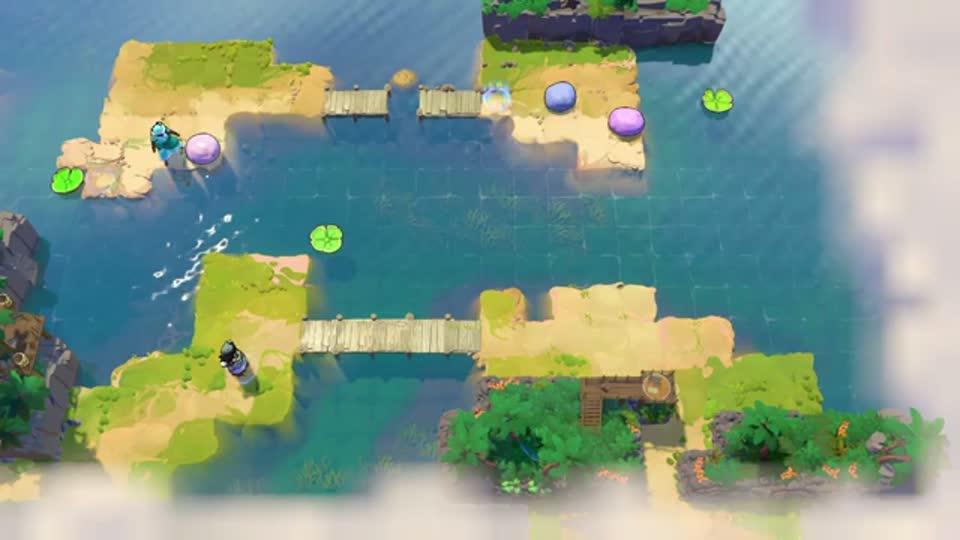 Level 2 · Board 3
A moving pad in the bridge gap
Stop the pad at the upper bridge gap, then use a second stone to arrange the exit.
 Level 2 · Board 4
Catches become stepping stones
Use controlled catches to create access to the lower dock and the checkpoint beyond the left pool.
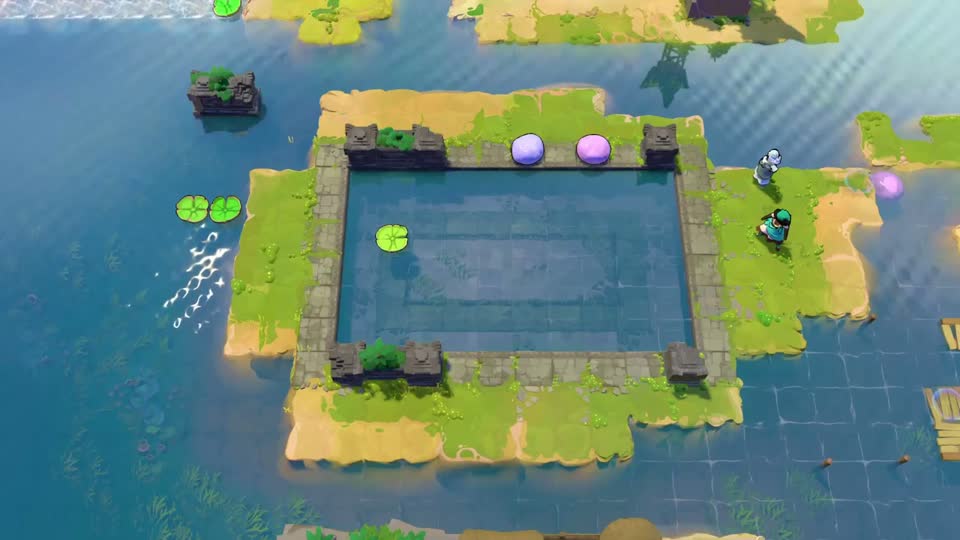 Level 2 · Board 5
The square pool and its return lane
Make a foothold inside the pool, then use it to line up the two-pad departure.
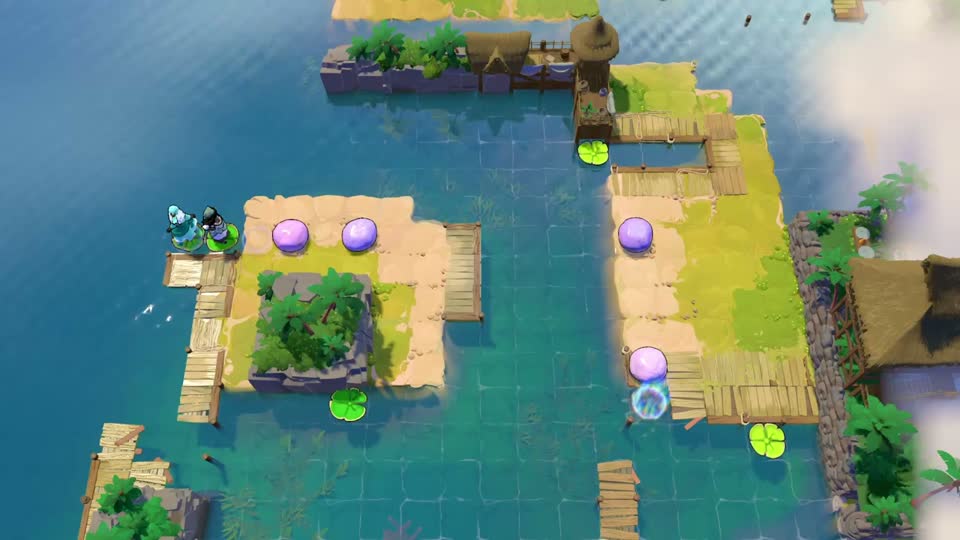 Level 2 · Board 6
Reverse the pad at the right moment
Reverse a travelling pad twice: first to reach the checkpoint, then to transport a stone.
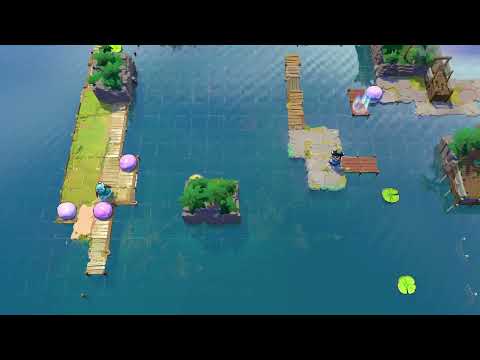 Level 2 · Board 7
Use the foliage stone as your timing cue
Time a second throw against a visible landmark, then send the lower pad back towards its passenger.
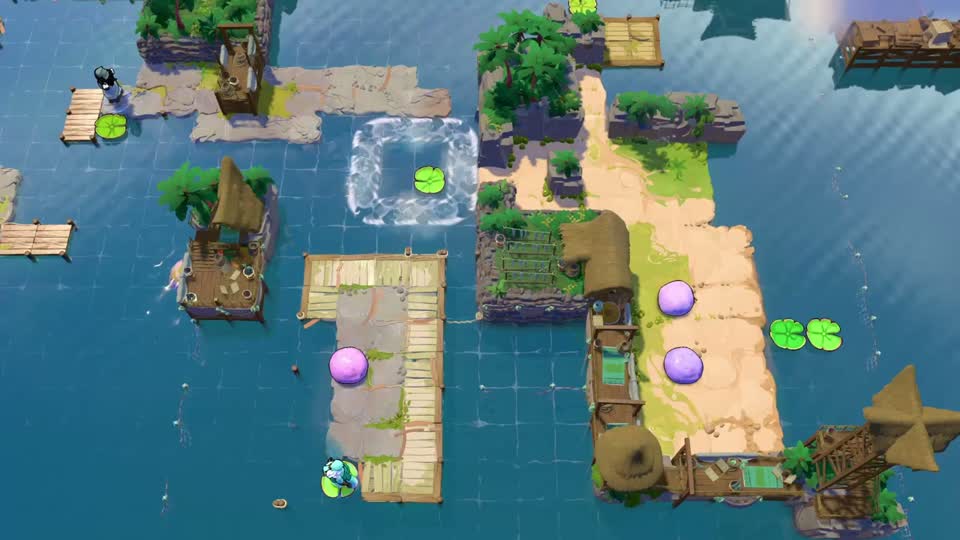 Level 2 · Board 8
Share the square current, then split up
Use one circling pad to reunite the sailors before arranging the right-hand crossing.
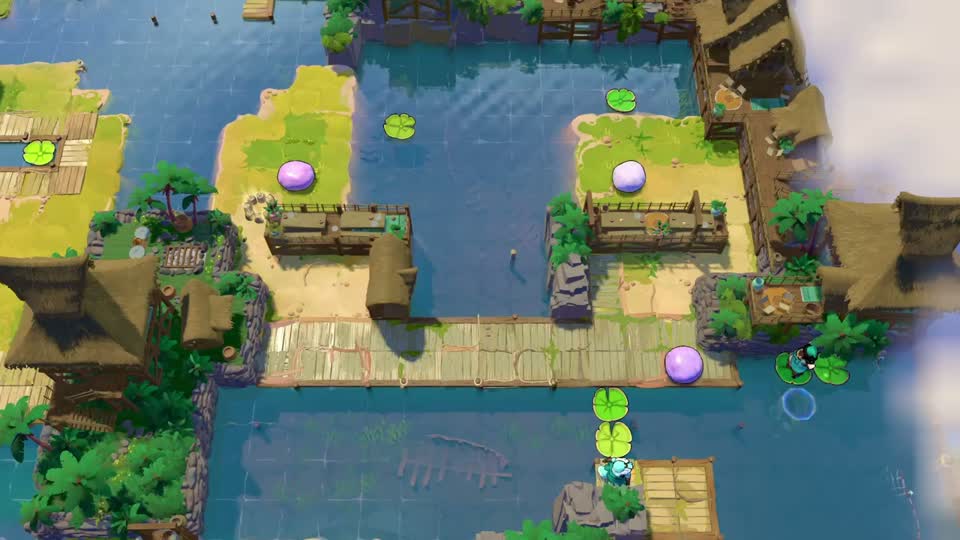 Level 2 · Board 9
Deliver a stone to the lower dock
Carry a stone to the lower dock so the sailors can leave on the two pads.
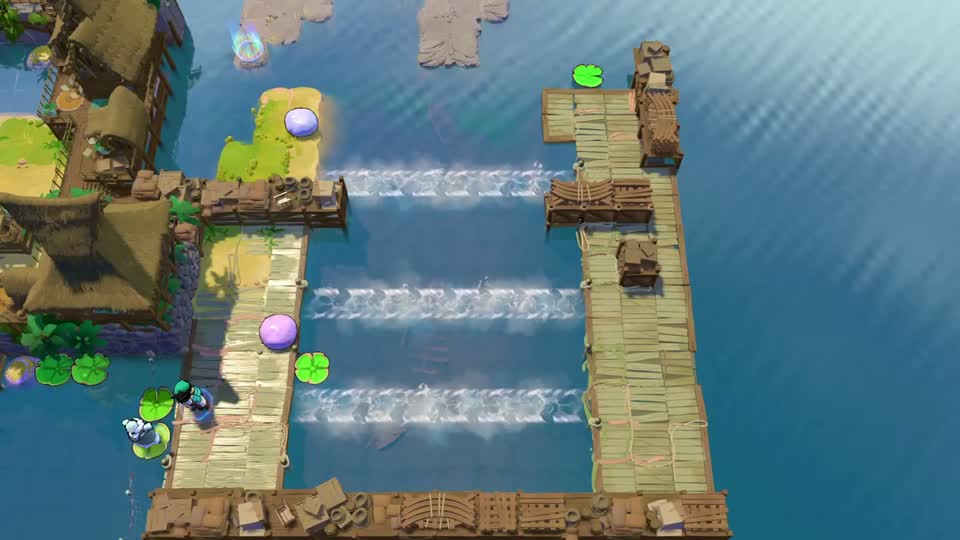 Level 2 · Board 10
Climb the three horizontal currents
Use exchanges across the water to lift the passenger into the upper current.
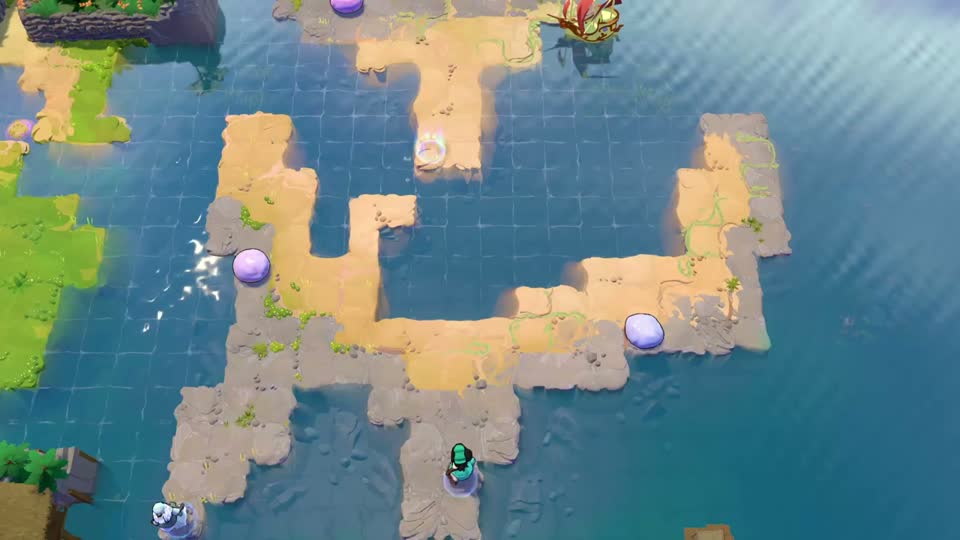 Level 2 · Board 11
Two stones meet beneath the checkpoint
Collide the stones in the checkpoint column to create the missing crossing.
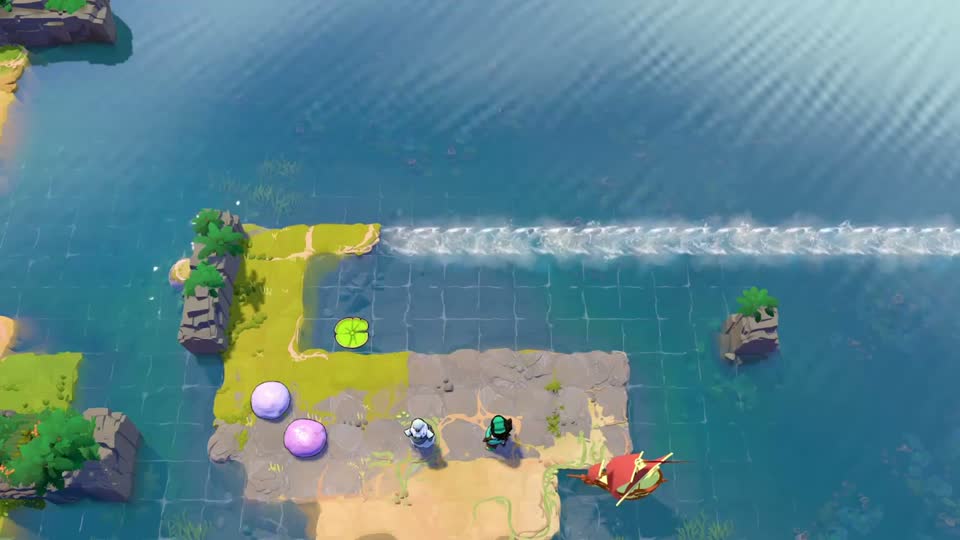 Level 2 · Board 12
Send the original sailor back to the boat
Return the sailor who entered Level 1 to the boat; the passenger’s identity matters here.