
Two-sailor technique
Two sailors: when to catch a stone and when to step aside
A second sailor can stop a useful throw—or stop it too soon. Decide where the stone needs to finish before positioning the receiver.
The short answer
For a deliberate catch, place the receiving sailor directly opposite the throw in its row or column and leave them there until the stone arrives. For a return that must travel past that position, step out of the lane before the throw.
The pictured examples come from launch demonstrations, not an October 15 playthrough. Match the islands and prepared objects before using an exact route; updated checkpoints or layout details may differ.
Make the receiver an endpoint
Use A for the sailor who entered Level 1 and B for the companion. Before throwing, trace a straight row or column from the stone to the intended receiver. Move the receiver first, switch back to the thrower, then throw.
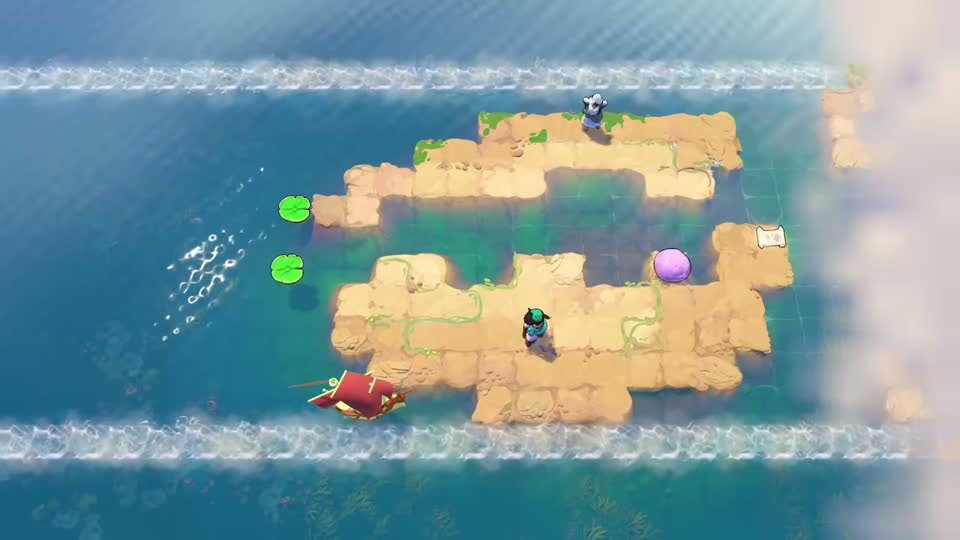
At the first two-sailor exchange, the same pink stone travels between the upper and lower banks. Each new receiving column is prepared before the next throw. If the stone disappears into water, undo the throw and check the receiver’s alignment; do not immediately move the lily pads.
Check the crossing a catch creates
In the grassy-pool catches, controlled exchanges create access around the pool. Keep the receiving sailor aligned until the return arrives, then inspect the submerged stepping point and test the intended connection.
A stone reaching the far bank is not the only success condition. The new access must appear where the receiver was meant to stand. If the point is wrong, undo the failed exchange and recheck both positions without disturbing an earlier successful crossing.
Step aside when the return needs a clear lane
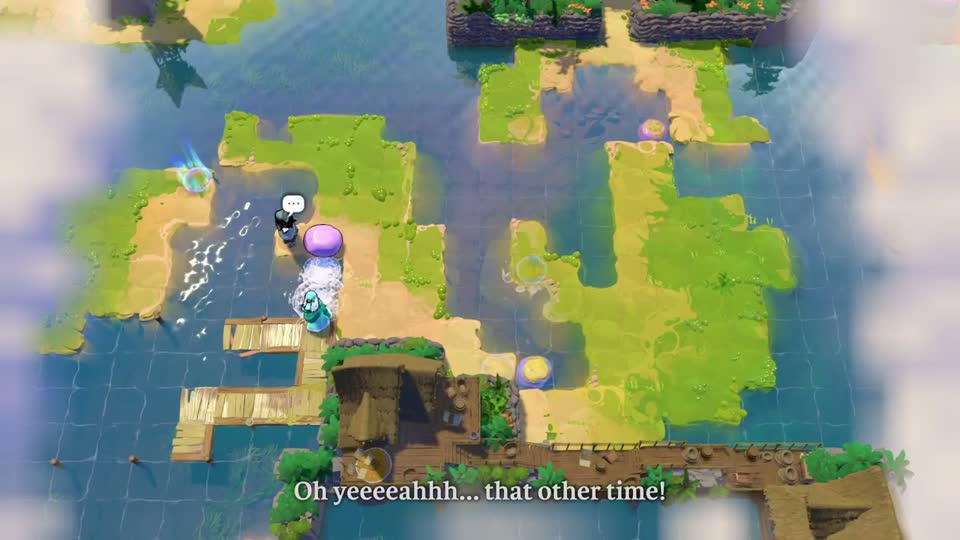
In Catch it, then step aside, A first sends the stone up to B. A then moves down out of the return lane before B sends it back. Catching it at A’s old position would stop the return too early.
The square-pool return route uses the same distinction: B steps right out of the lane after preparing the pad. If a return is unexpectedly caught, inspect that sailor before moving a correct pad or blue-stone foothold.
Keep identity separate from a temporary catching job
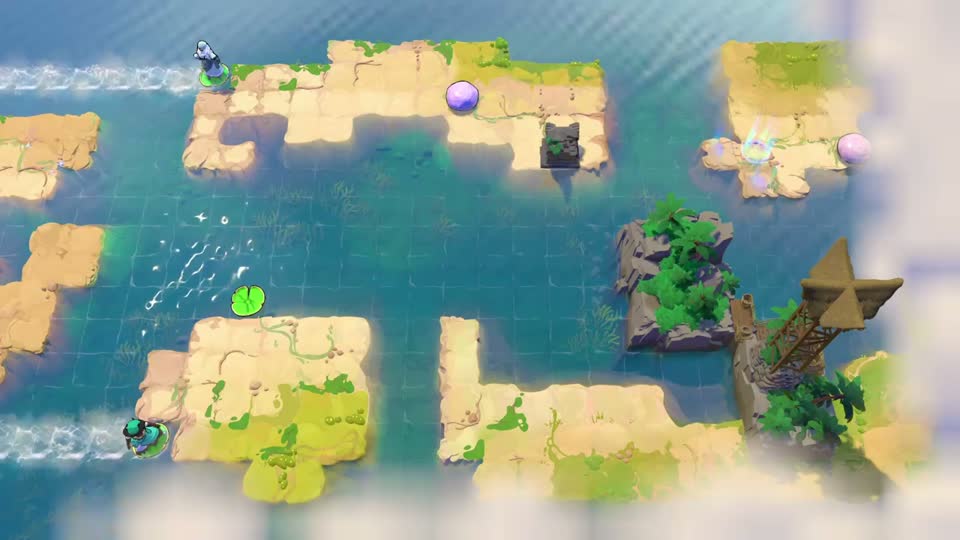
Either sailor can be given a local catching job when the route calls for it, but do not lose track of who is A. At the final boat return, the original sailor must be the passenger. “The sailor on the left” is not a permanent identity.
For a missed moving catch, prepare both endpoints again and use a visible timing cue where the specific board calls for one. If a checkpoint resumes in a different state, compare both sailors and the stones before repeating the exchange.
Check your result
The stone stops at the intended receiver or travels through the cleared lane, and the resulting crossing or pad setup is still usable. Both sailors retain their next job.
Sources and version details
Follow the linked demonstrations for the complete pictured routes.