
Level 1 · Board guide
Skipping Stones · Level 1
One sailor, skipping stones and moving lily pads. Find your board before opening a hint.
Choose the matching picture. Board labels follow this guide's sequence and are not official level names. Each page separates gentle hints from the complete route.
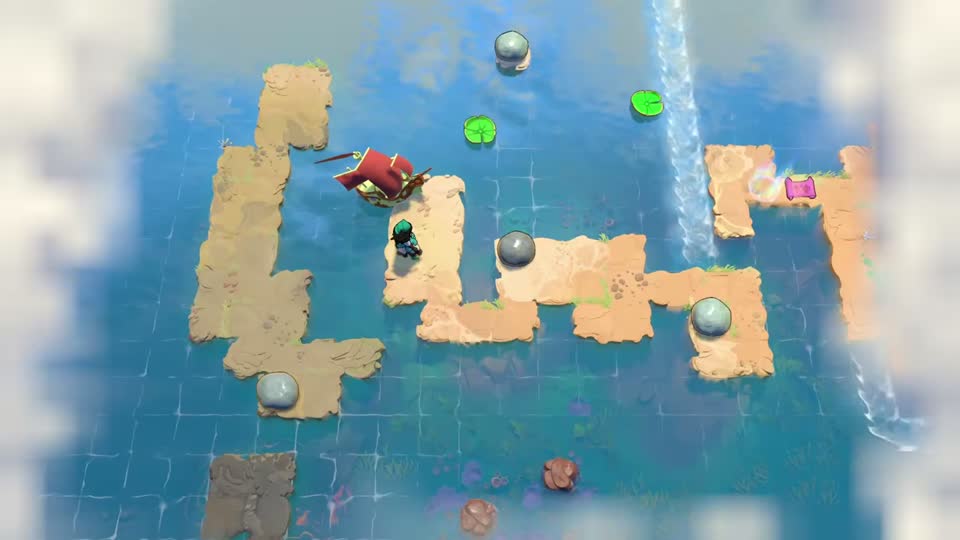 Level 1 · Board 1
The boat and the first crossing
Bring the two lily pads together in the right-hand current so they form your crossing.
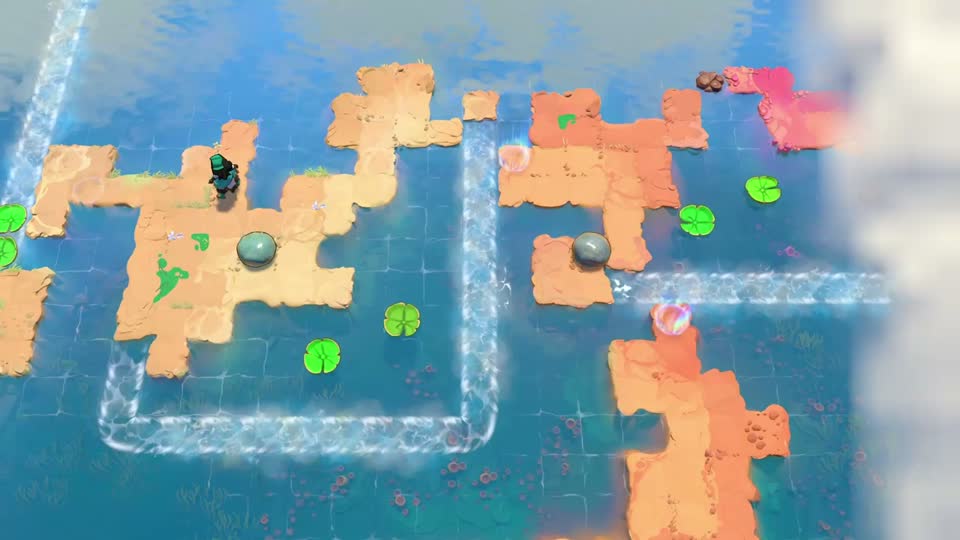 Level 1 · Board 2
Across the current loop
Make the first crossing, then arrange a second pair of pads to reach the lower-right checkpoint.
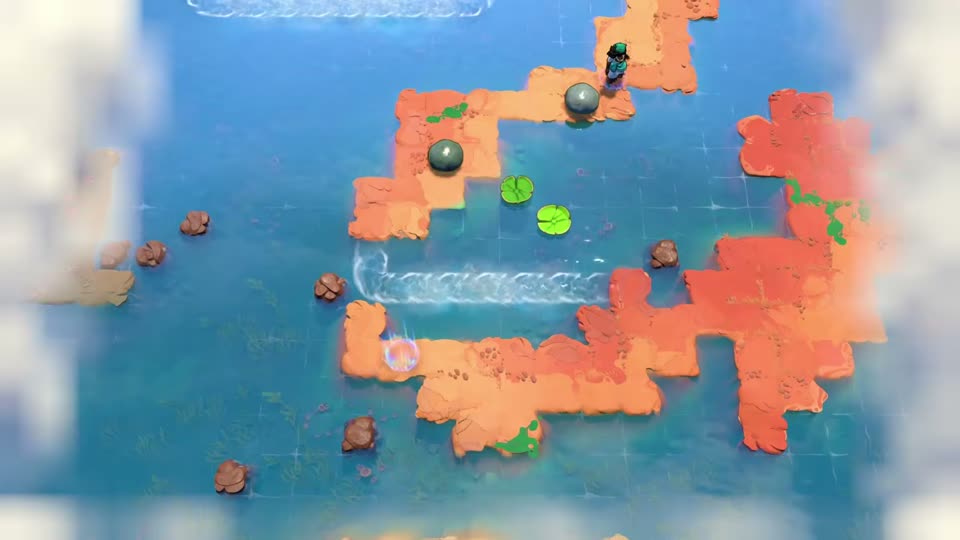 Level 1 · Board 3
Two pads and a stone to take along
Align the pads for the crossing, then carry a stone into the next board.
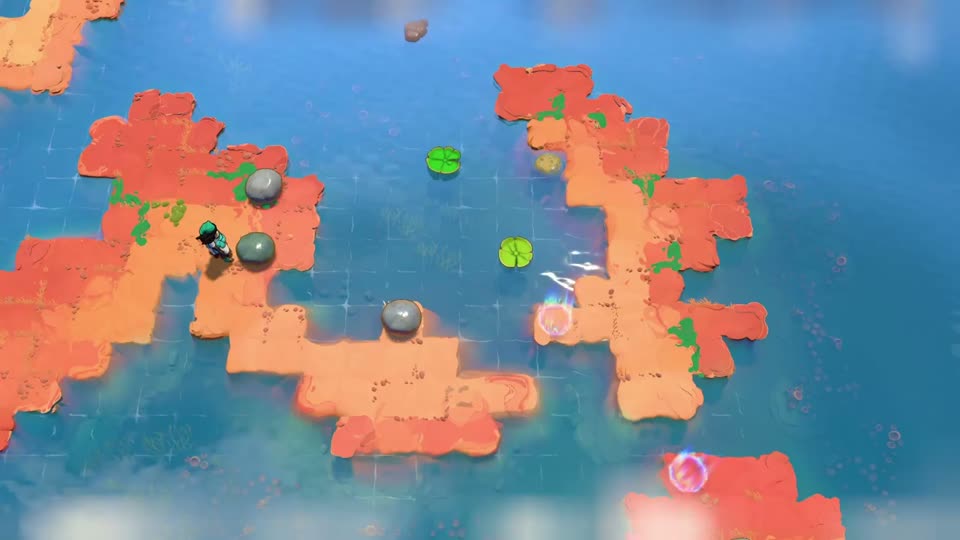 Level 1 · Board 4
Three stones, two checkpoints
Use the imported stone to complete the pad crossing, then bridge to the lower checkpoint.
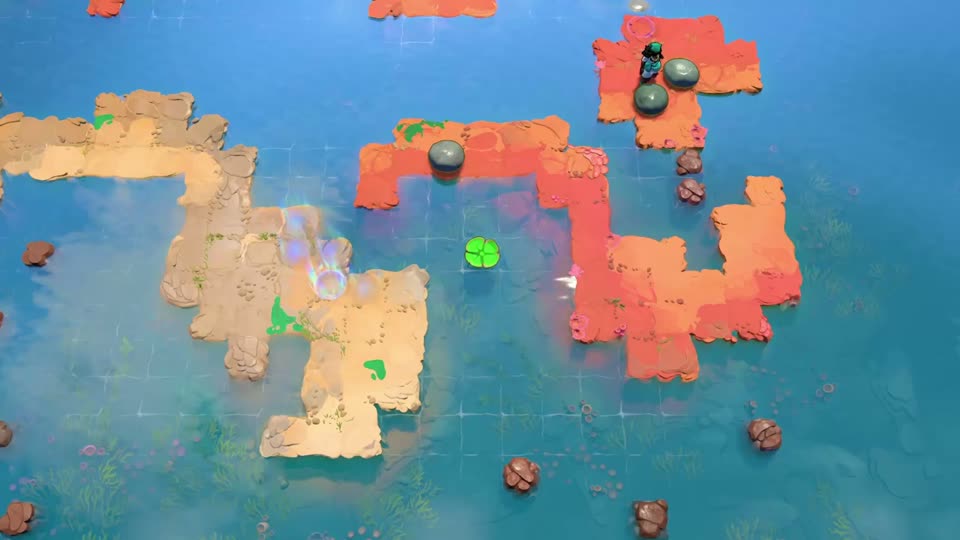 Level 1 · Board 5
Around the hooked island
Bridge off the entrance, move the single lily pad left, and take a stone west into board 6.
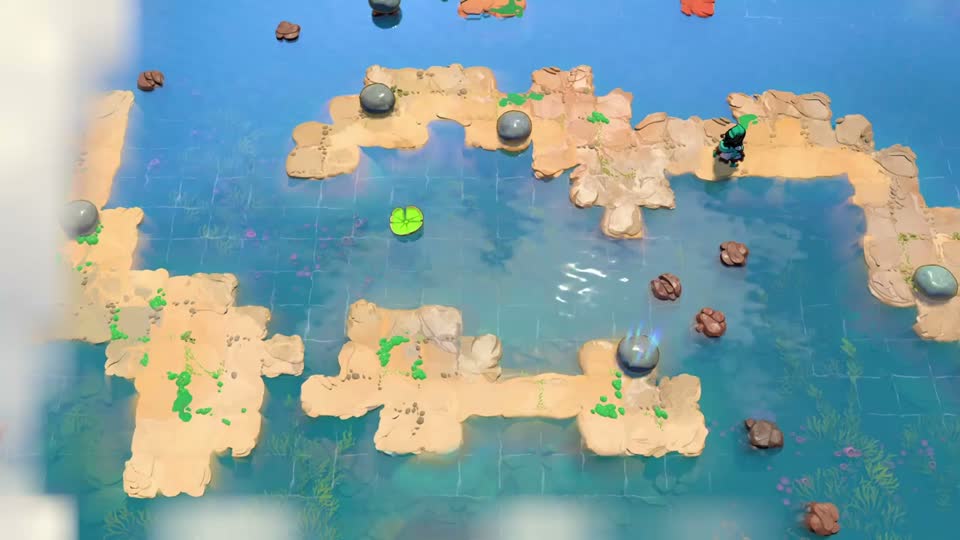 Level 1 · Board 6
The long bay and the third stone
Use a stone from board 5 to complete the central crossing, then open the route west.
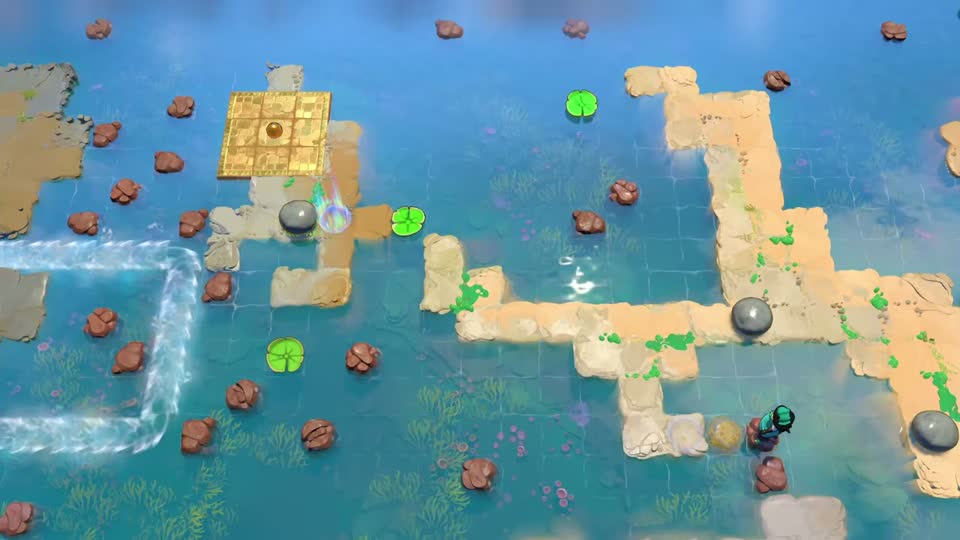 Level 1 · Board 7
The orb and the moving lily pad
Redirect a pad while it is moving, reach the orb-side checkpoint, and then join the western current.
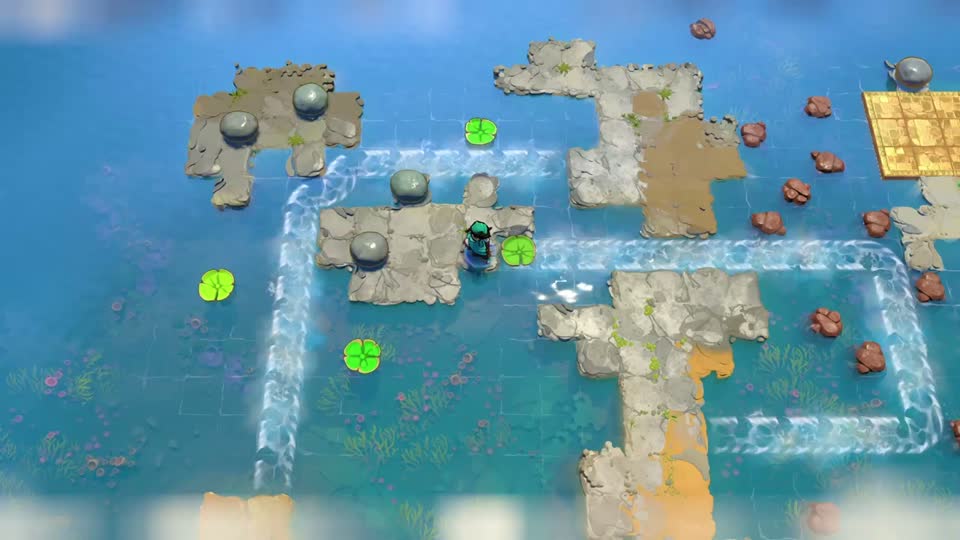 Level 1 · Board 8
Three pads around the current circuit
Load three pads into the circuit, ride back to the central island, and open the lower-right exit.
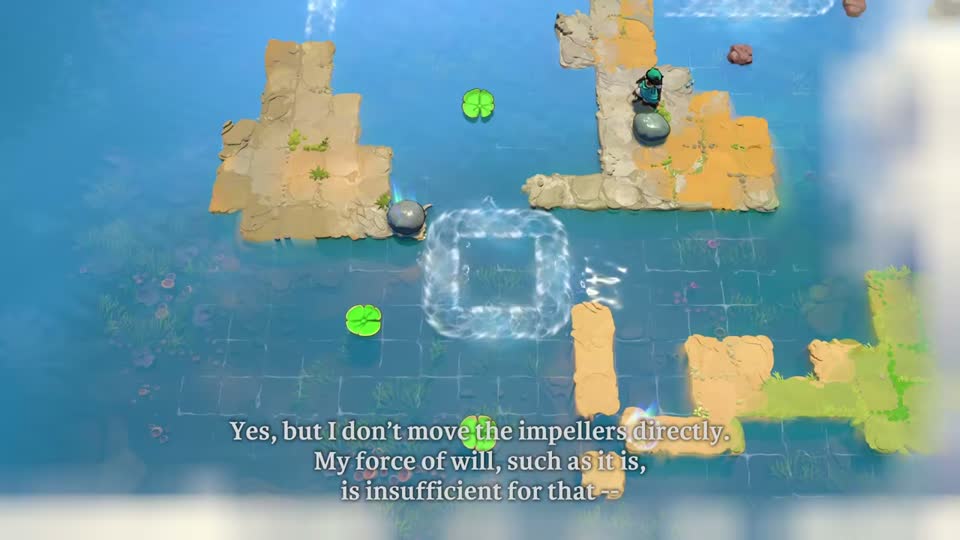 Level 1 · Board 9
A stone on the front pad
Ride the rear pad and push from it to redirect the front pad towards the exit.
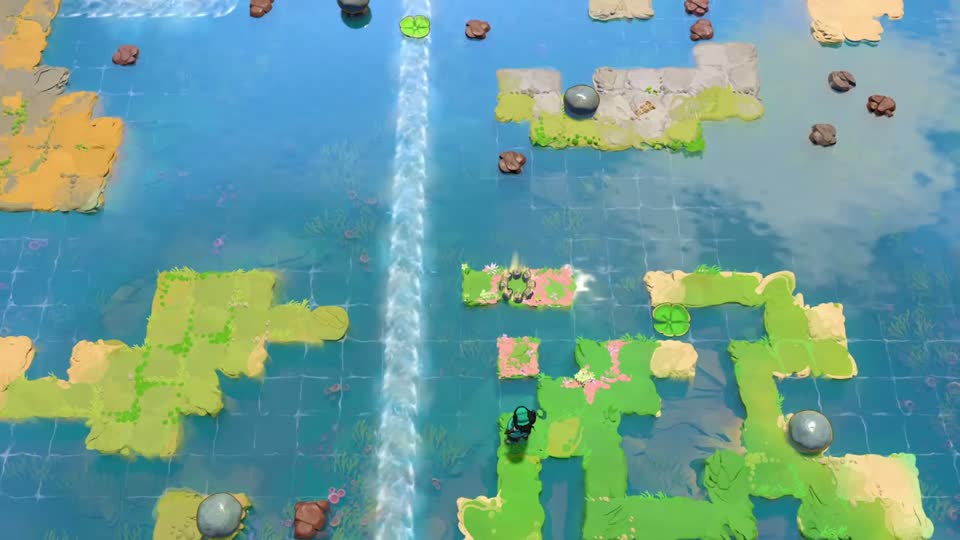 Level 1 · Board 10
The return route to the boat
Use this board as an outward junction first, then return after board 13 to ride back to the boat.
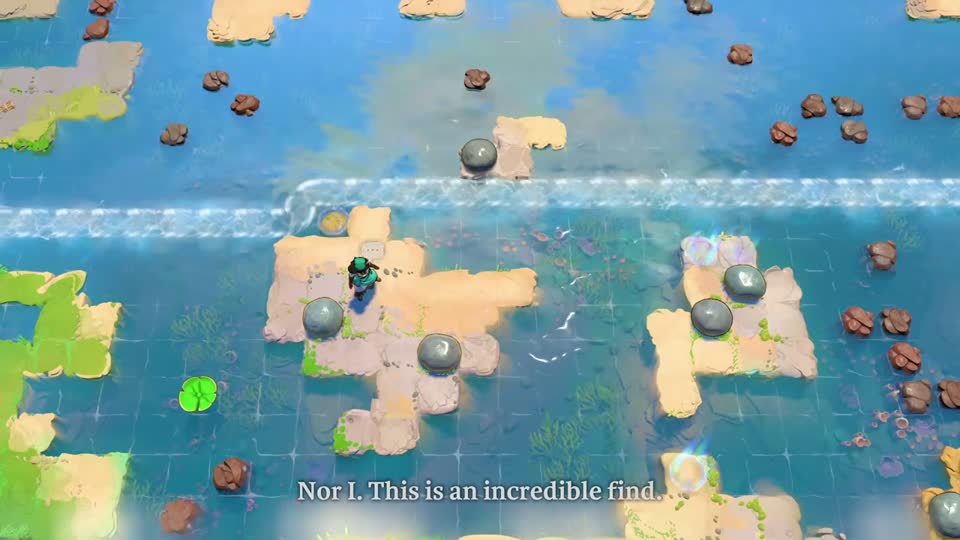 Level 1 · Board 11
Redirect the horizontal current
Divert the current so a lily pad carries you to the eastern checkpoint, then bridge south.
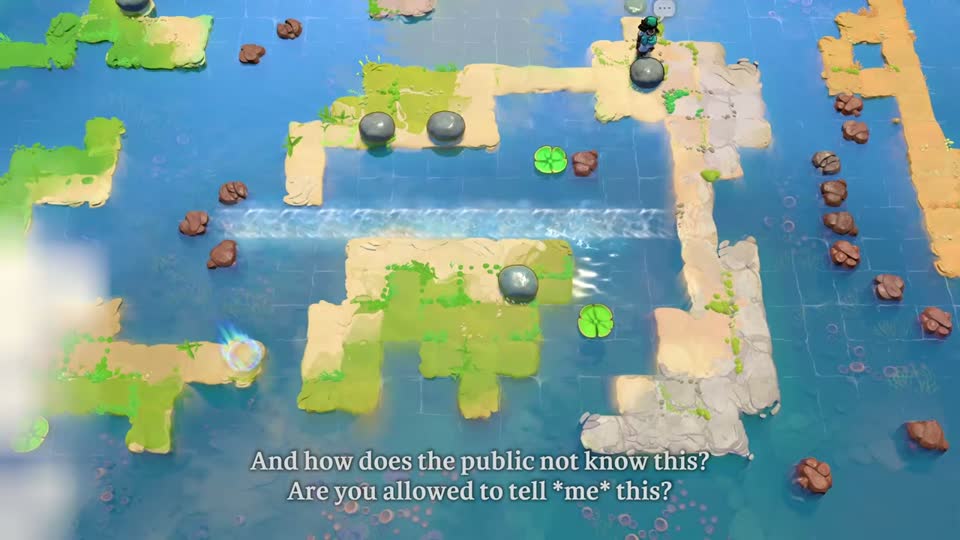 Level 1 · Board 12
The central island and the exit bridge
Reach the central island on paired pads, then create the western stone bridge.
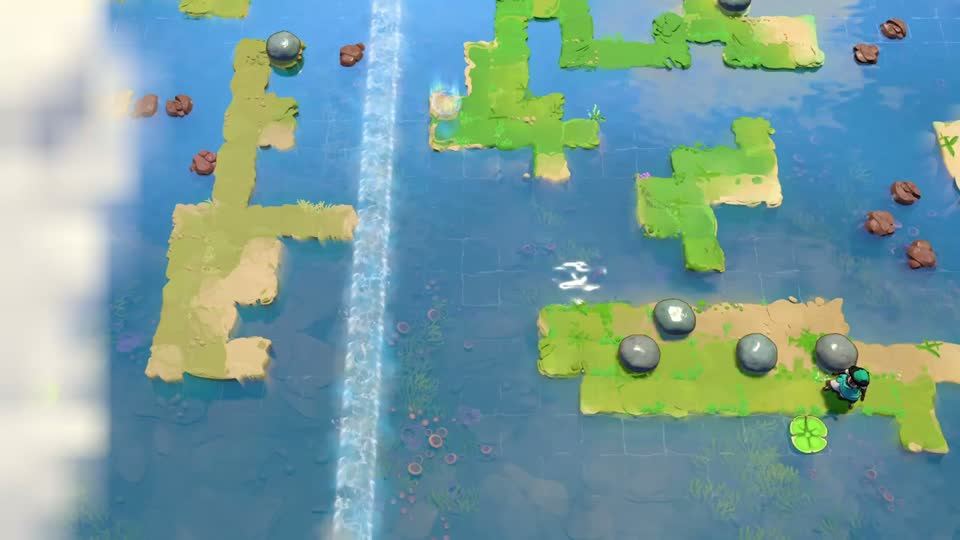 Level 1 · Board 13
Into the west current
Use the upper island to reposition a stone, divert the western flow, and ride the lower pad back north.
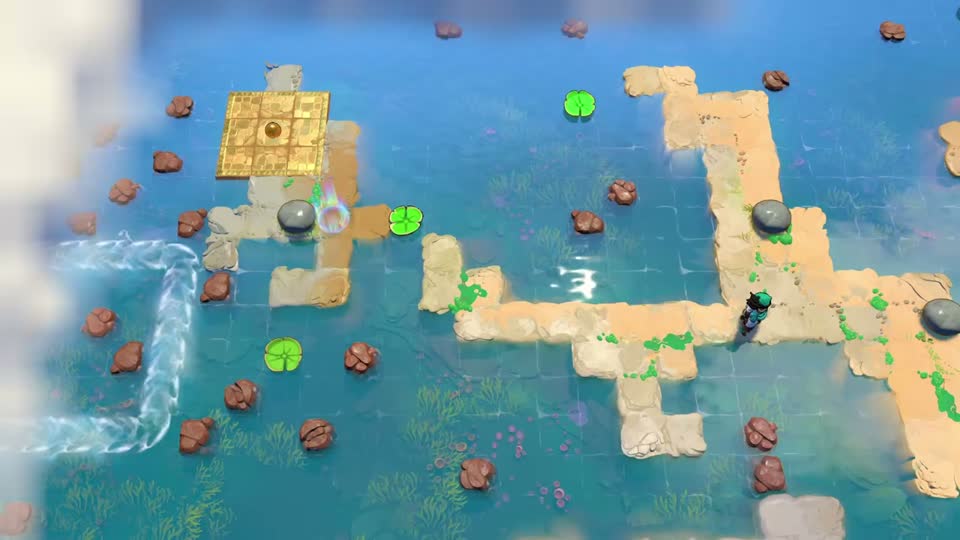 Level 1 · Treasure 1
The treasure beyond board 7
Open the short southern treasure detour without losing the stone needed for board 7.
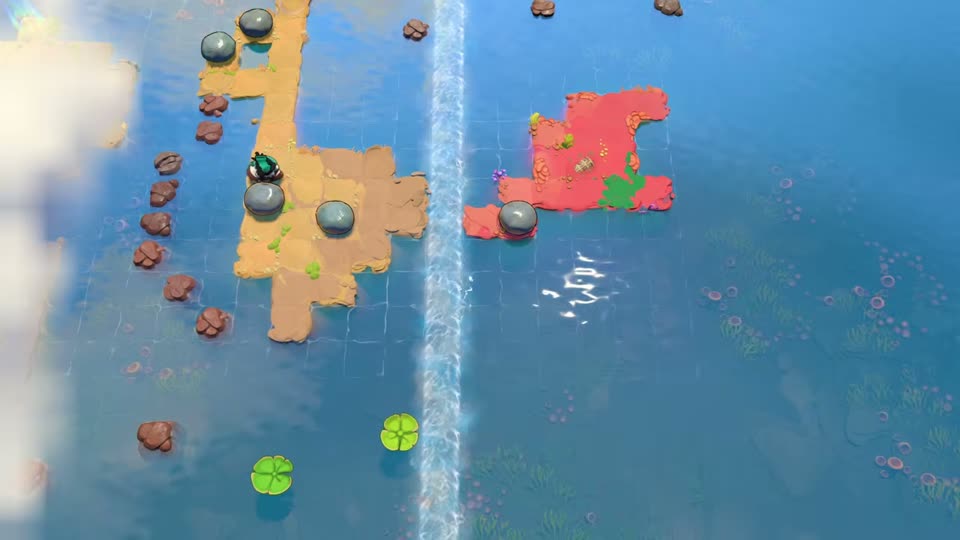 Level 1 · Treasure 2
The second treasure and the return pad
Ride one pad to the treasure and use the second to return, then restore the main route.