
Stone-transfer diagnosis
Missing a stone? Check the earlier transfer first
A pictured area may depend on a stone from its neighbor. Count the required route stones before resetting a crossing that already works.
The short answer
Check the departure area as well as the arrival area. The early horseshoe board sends a stone east, the hooked island sends one west into the long bay, and the first treasure detour must return its route stone before the orb-side timing puzzle.
The pictured examples come from launch demonstrations, not an October 15 playthrough. Match the islands and prepared objects before using an exact route; updated checkpoints or layout details may differ.
Three stones needed after the horseshoe crossing
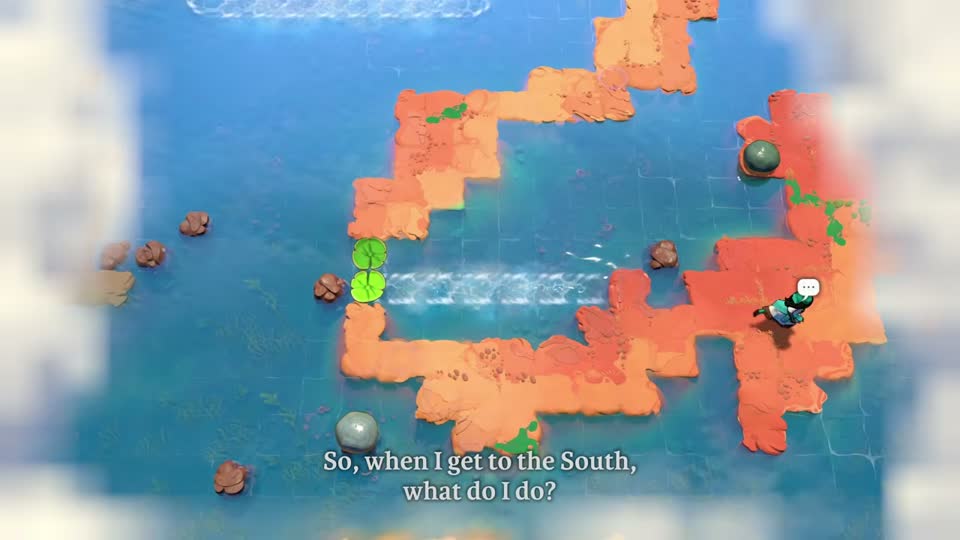
If the three-stone, two-checkpoint board seems one stone short, revisit the two-pad horseshoe board. Its objective is not finished at the lower-left checkpoint. The launch route sends the right-side stone east into the next board.
First match the horseshoe and two diagonally offset pads. Check whether the stone is still there or whether you stopped after crossing. Finish that transfer before rebuilding the next board’s native stones.
The long bay needs the hooked island’s third stone
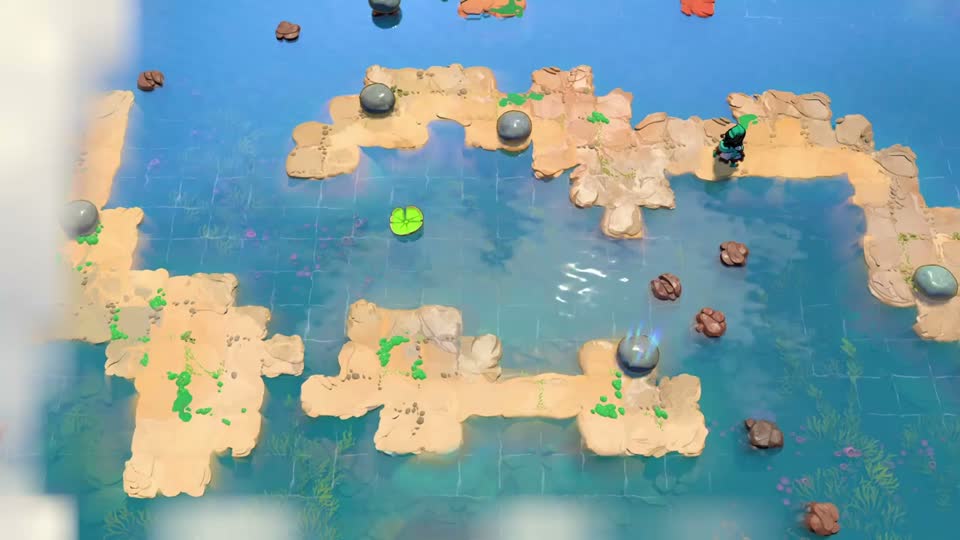
The long bay explicitly needs an imported stone from the hooked-island board to its right. On the departure board, reach the pale checkpoint bank and finish the westward stone transfer. Crossing out of the hooked island without the stone leaves the bay setup incomplete.
In the bay, distinguish that imported stone from the two local launch stones. Once it is available, use the bay guide for the central crossing. Restarting the bay alone is not a proven way to recreate the earlier transfer.
Bring the detour stone back before the orb-side timing
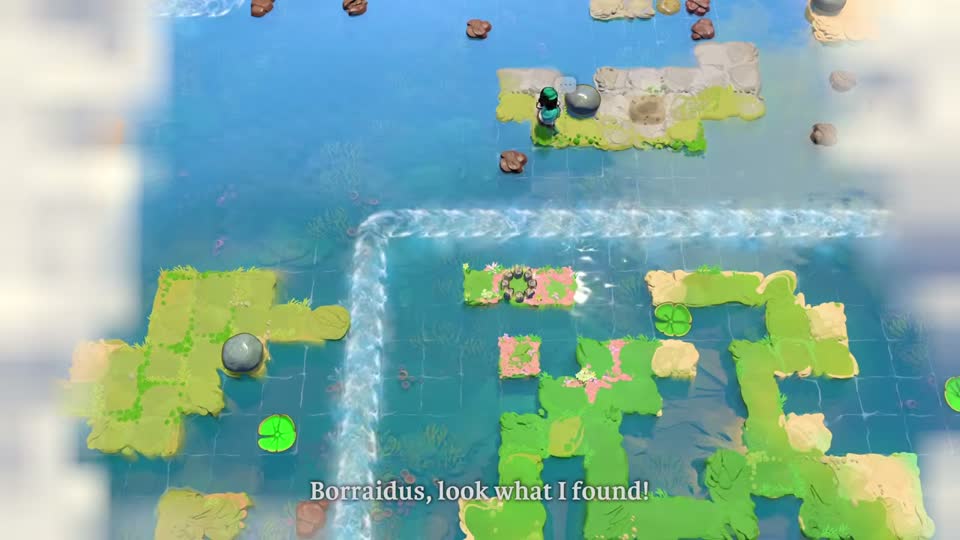
The first treasure detour branches south of the orb-side board. Collecting the treasure does not finish the detour: bring its route stone back up to the main path before continuing the orb and moving-pad puzzle.
If your timing guide’s two staging stones cannot be arranged, inspect the detour first. Do not sacrifice another useful stone to improvise around the missing return; restore the known transfer and then prepare both timed throws.
If all three transfers are already correct
Compare the current board’s starting picture and stone roles. A native stone moved during a failed attempt calls for undo to that action, not an unrelated transfer. Use the recovery decision guide.
If the first level’s streams reset while your placed stones remained after October 14, or partial progress cleared after October 15, that is a different issue: use the update-reset explanation. This transfer checklist does not restore a cleared save.
Check your result
The arrival area has the imported stone required by its guide, and you can still identify which stone must remain available for the next transfer.
Sources and version details
Follow the linked demonstrations for the complete pictured routes.