
Left branch · Board guide
South world · Left branch
The six-puzzle branch reached from the lower South-world dock after Level 2.
Choose the matching picture. Board labels follow this guide's sequence and are not official level names. Each page separates gentle hints from the complete route.
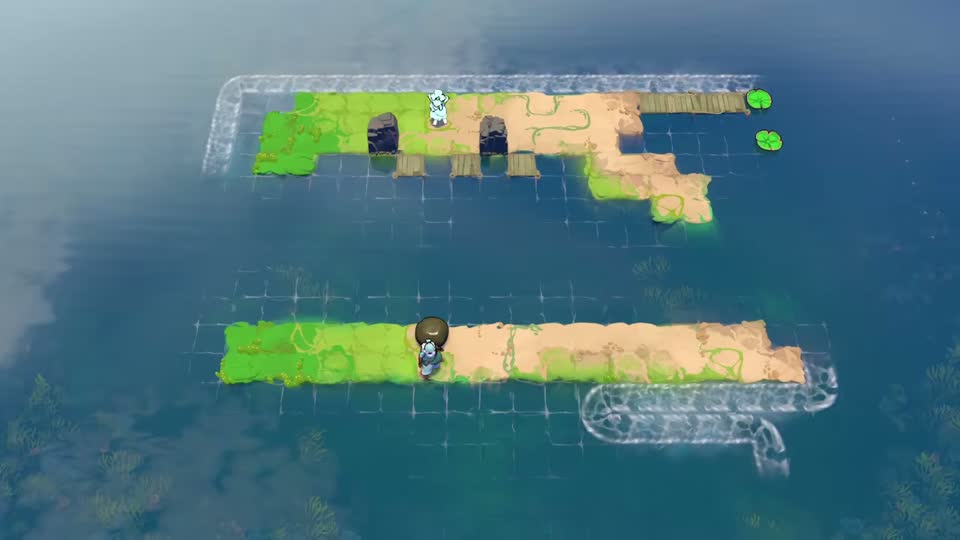 Left branch · Board 1
Two banks, two departure currents
Pass the stone to the upper bank and use a single throw to release both pads.
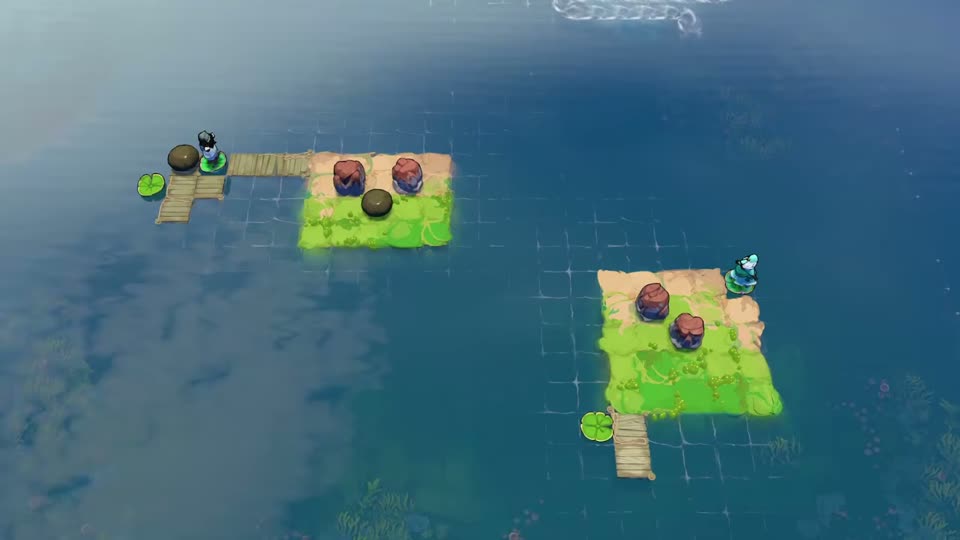 Left branch · Board 2
Rock footholds on opposite islands
Sink the red rocks into useful adjacent footholds before moving the round stones.
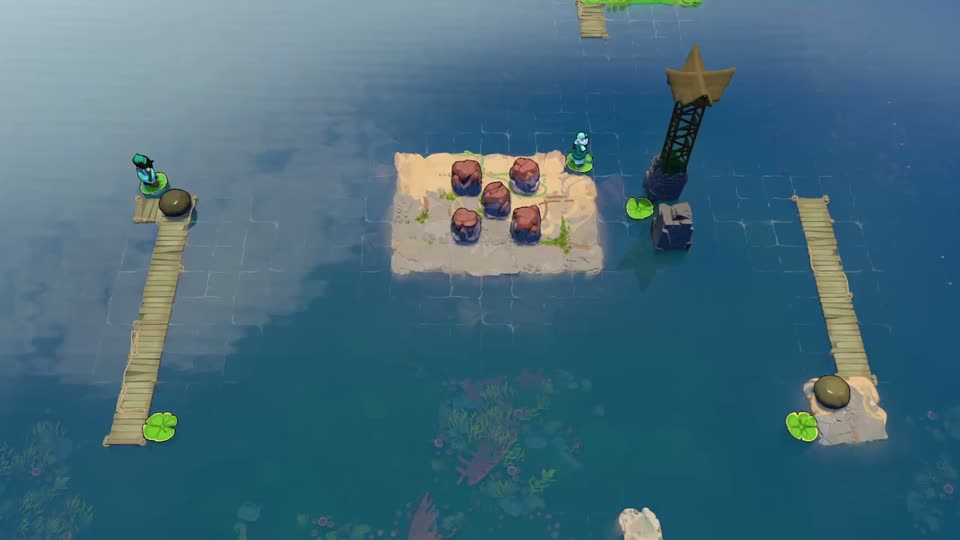 Left branch · Board 3
Five rocks beside the star pillar
Build separate left and right footholds so B can move the received stone around the island.
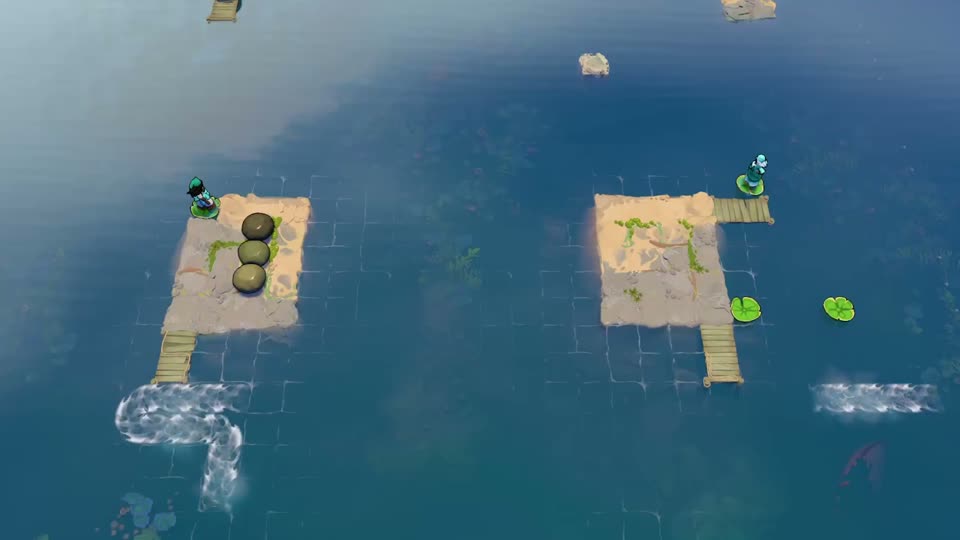 Left branch · Board 4
Three stones, two catches, one launch
Turn the first two throws into footholds and keep the third stone available for the launch.
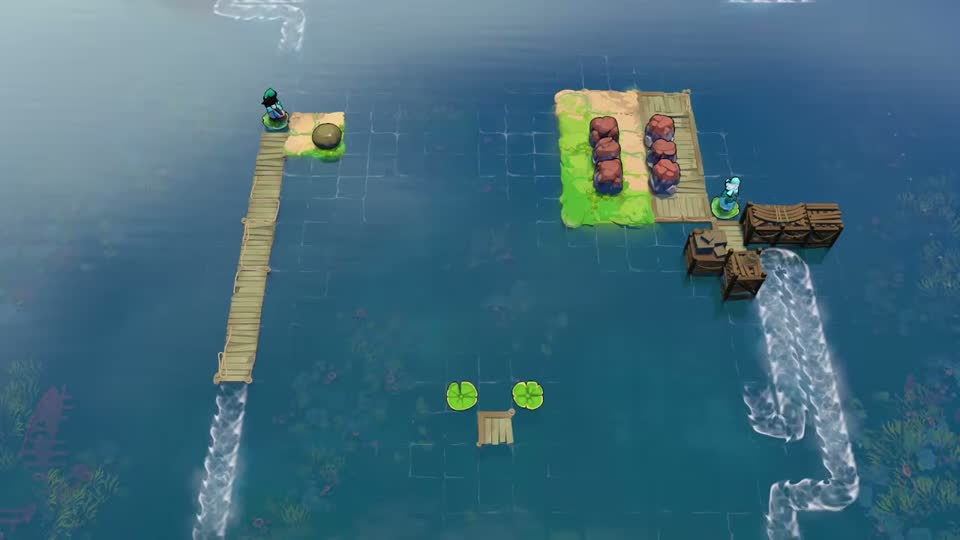 Left branch · Board 5
Six red rocks in two rows
Create a two-row platform in the water so B can redirect A’s stone downward.
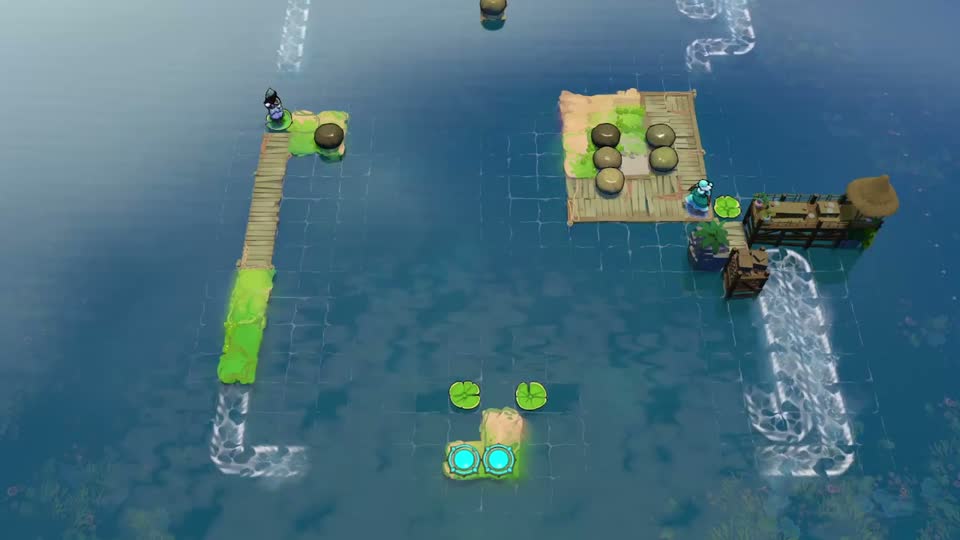 Left branch · Board 6
The collision that opens both teleporters
Build receiving positions, then create the last turning stone with a timed collision.